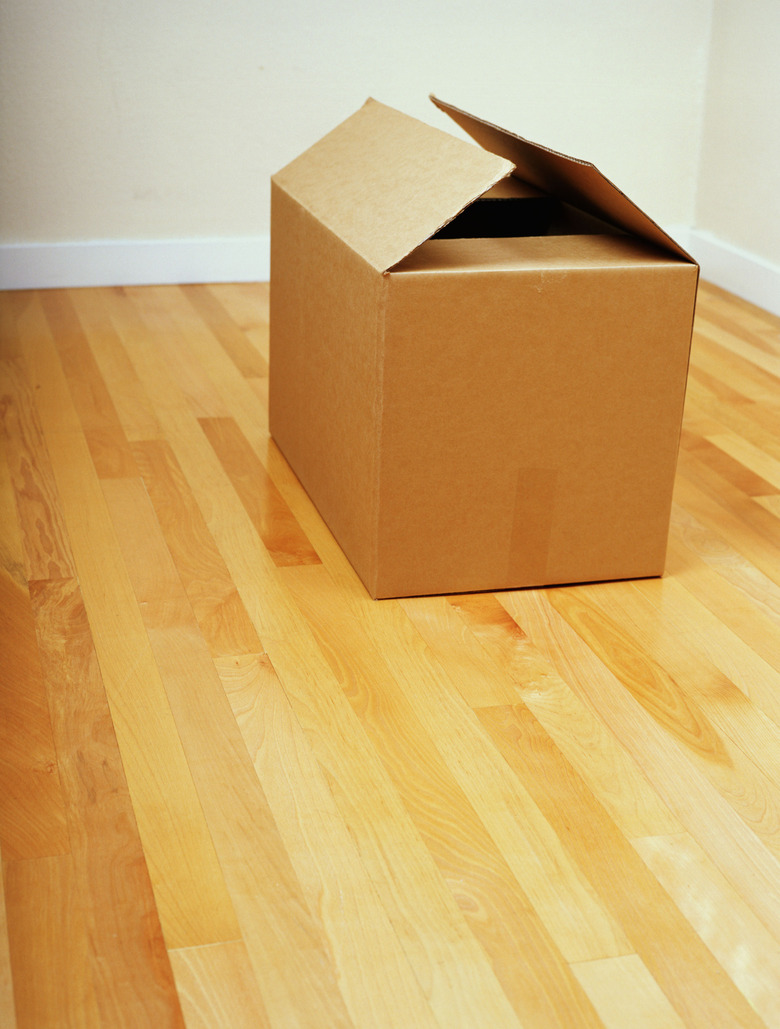
How To Plant In A Cardboard Box
Your local garden center sells biodegradable cardboard seedling trays and cell packs made from ground, wet, cardboard pulp so the material breaks down faster and roots can push through. Without processing the cardboard into pulp, you can use a plain cardboard box to grow larger plants. Though it sounds unlikely, a thick, sturdy cardboard box can hold up for an entire growing season, allowing you to save money on plastic and ceramic planters. This works well for growing annuals and vegetables from spring through fall. The cardboard can be composted at the end of the growing season.
Step 1
Step 1
Reinforce the bottom of the box with one or two strips of duct tape or a similar strong tape applied across the seam where the flaps meet. Apply tape to any weak corners on the sides and top of the box as well. If anything, it helps to wrap tape horizontally around the top and bottom of the box. Choose a sturdy, corrugated cardboard box rather than thin cardboard like a cereal box.
- Your local garden center sells biodegradable cardboard seedling trays and cell packs made from ground, wet, cardboard pulp so the material breaks down faster and roots can push through.
- If anything, it helps to wrap tape horizontally around the top and bottom of the box.
Step 2
Step 2
Fold the top box flaps down so they're pushed tight against the inside of the box. You can tape the flaps down, but this isn't necessary.
Step 3
Step 3
Decorate the sides of the box, if desired, so the cardboard material is less obvious. For a simple change, glue decorative scrapbooking paper to the sides of the box, or wrap the entire box with natural twine for a rustic look.
Step 4
Step 4
Poke several holes spaced about 4 inches apart in the bottom of the box for drainage, using a punch tool or screwdriver. While optional, you can line the box with a plastic bag to keep it dry and extend its life, but you must also poke drainage holes through the bag and out the bottom of the box.
Step 5
Step 5
Set the box in place where you want to grow plants before filling it. Follow the sunlight needs for the type of plant you wish to grow to determine the best placement. Most vegetable crops, for example, require full sun or a minimum of six hours of direct sunlight. This is the final location for the plant; the cardboard will soften and become difficult to move.
- Fold the top box flaps down so they're pushed tight against the inside of the box.
- While optional, you can line the box with a plastic bag to keep it dry and extend its life, but you must also poke drainage holes through the bag and out the bottom of the box.
Step 6
Step 6
Fill the box with lightweight potting soil or make your own blend using equal parts sphagnum peat moss and perlite. Mix in some finished compost and aged manure to fertilize the plants. Leave 1 to 2 inches up to the edge of the container free of soil so there's room to plant.
Step 7
Step 7
Sow seeds in the potting soil or plant a transplant in the box. Plant transplants so the top of the root ball is even with the top of the potting soil.
Step 8
Step 8
Water the plants in the cardboard box garden to keep the soil evenly moist; follow watering guidelines for the specific plant you choose. Though cardboard gets wet when you water the soil, its porous, fibrous material also dries out quickly, so you might need to water more frequently than with plastic and ceramic containers.
- Fill the box with lightweight potting soil or make your own blend using equal parts sphagnum peat moss and perlite.
- Plant transplants so the top of the root ball is even with the top of the potting soil.
Step 9
Step 9
Slip the original box inside a new, slightly larger box to continue box gardening if the original box breaks down before the end of the growing season. Poke new drainage holes in the bottom of the new box. Alternatively, you can move the plant to a permanent spot in the ground if the cardboard box becomes too weak and won't stand upright.
Things Needed
- Duct tape
- Punch tool or screwdriver
- Potting soil
- Finished compost
- Aged manure
