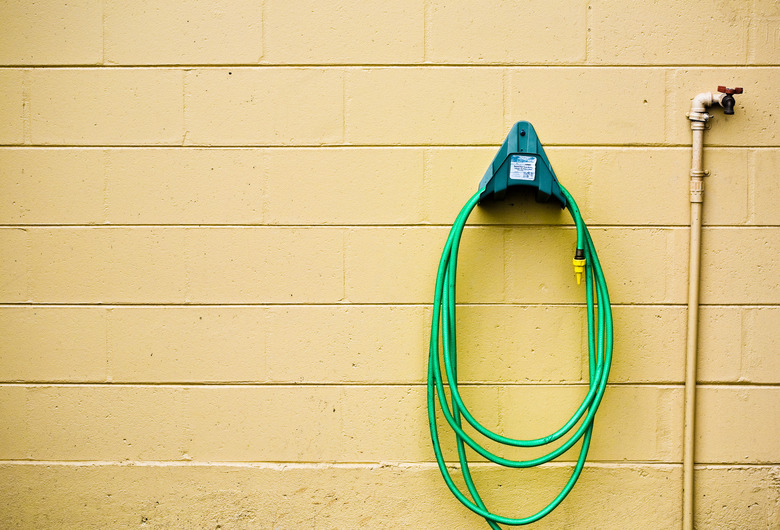
How To Install A Garden Hose Holder
Tangled, messy hoses not only make your outdoor space look unorganized, they also present a tripping hazard as you walk around your house. When you keep your hose stored on the ground, you must untangle the hose each time you want to use it. A wall-mount hose hanger keeps the hose wound neatly against the side of your house or garden shed. A common hose hanger is basically just an arm to hold the hose, but some include a reel to make winding easier. All hangers install in basically the same way with a mounting plate and anchor screws.
Step 1
Step 1
Hold the mounting plate for the hose hanger against the side of the house or shed in the desired location. Install the hanger close to an outdoor water spigot and set at about waist height. If the exterior wall is made of stone or brick, line up the mounting plate pilot holes on the stones or bricks and not on mortar. When installing a hose hanger on a wood wall, line up the holes in the anchor plate on at least one stud for maximum stability. You can run an electronic stud finder along the wall until it beeps to indicate stud location or knock on the wall until you hear a deadened sound that indicates the presence of a stud behind the wood exterior.
- Tangled, messy hoses not only make your outdoor space look unorganized, they also present a tripping hazard as you walk around your house.
- When installing a hose hanger on a wood wall, line up the holes in the anchor plate on at least one stud for maximum stability.
Step 2
Step 2
Place a level on top of the hose hanger mounting plate and adjust the position until it rests level.
Step 3
Step 3
Insert a marker or pencil through the pre-drilled mounting holes on the hose hanger to mark the exterior of the house or shed. The mounting plate should have a minimum of two mounting holes for screws, but some might have four or even five mounting holes.
Step 4
Step 4
Drill pilot holes into each mark. Drill the holes about 1/2-inch shorter than the length of the screws included with the hose hanger, which usually measure 2 to 3 inches long. Use a drill bit that measures one size smaller than the diameter of the screws included in the hose hanger mounting kit. For masonry walls, you must use a masonry drill bit to drill larger pilot holes that can accommodate a plastic or aluminum anchor. Use a hammer to tap the masonry anchors into the pilot holes so they can hold the screws.
- Place a level on top of the hose hanger mounting plate and adjust the position until it rests level.
- Use a hammer to tap the masonry anchors into the pilot holes so they can hold the screws.
Step 5
Step 5
Hold the mounting plate against the wall with the mounting plate holes lined up with the pilot holes in the wall.
Step 6
Step 6
Drive a screw through each mounting hole and into the pilot hole in the wall, or in the case of masonry walls, into the plastic anchor set into the pilot hole. Shake the hanger gently to check for stability before hanging the hose on the hanger.
Tip
Hose hangers might require assembly before hanging them on the wall, but this depends on the type of hanger you purchase. This usually just involves piecing the hanger together and attaching screws, but assembly instructions and screws should be included with the hanger.
Tip
When installing hose hangers onto horizontal siding that overlaps, drive the screws into the top of a siding strip, just below the overlap with the strip above it.
Things Needed
- Stud finder
- Carpenter's level
- Marker or pencil
- Power drill
- Drill bits
- Masonry drill bit (optional)
- Masonry anchors (optional)
