How To Build Raised Planters On A Hillside
Even the slightest slope comes with problems when trying to create a garden. Between uneven walkways, soil erosion during heavy rains, and the possibility of wind damage, the uneven terrain can make the most avid gardener walk away. The solution is one or more raised planters that provide a safe, stable gardening environment.
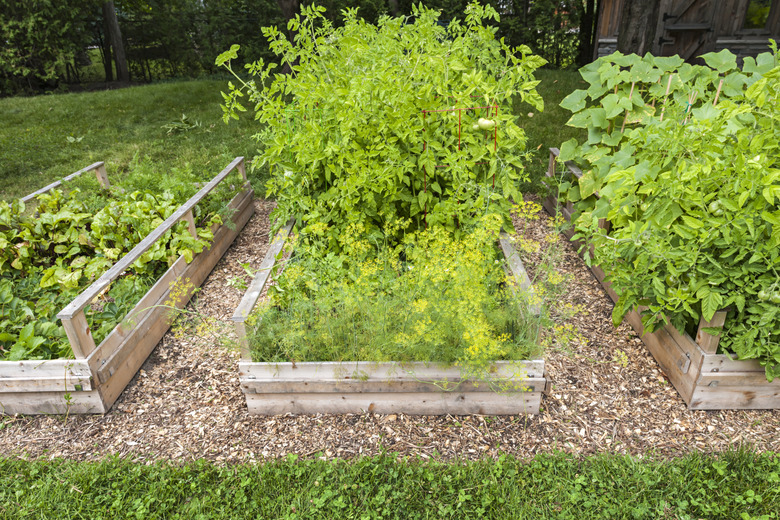
Elenathewise/iStock/Getty Images
Inspect the Site
Raised planters built on a hillside should run perpendicular to the slope for stability and better access. It is not an exact science, but a rudimentary inspection of the site will reveal that terrain in some areas is more smooth than others. Relatively level slopes that receive six to eight hours of sunlight are prime candidates for planter locations.
Building the Planters
Most building materials, such as bricks, concrete blocks and wood, work for constructing a raised planter bed. However, cedar, a wood that is naturally rot- and water-resistant will withstand several years of use before it needs to be replaced.
- Even the slightest slope comes with problems when trying to create a garden.
- Relatively level slopes that receive six to eight hours of sunlight are prime candidates for planter locations.
Generally, a traditional raised bed is a 4-foot-by-8-foot planter box. These dimensions may be too big for a hillside or slope. A smaller box, measuring 2 feet by 6 feet, should work well in the confines of rough terrain.
1. Dry Fit the Box
Align the cedar boards on flat ground to form a 2-foot by 6-foot box. The 2-foot boards should be on the outside edges of the 6-foot boards.
2. Mark the Boards
Lay the 2-foot side boards flat so that the 6-inch side is facing up. Starting at the top of the left side of the board, use a tape measure and pencil to make a mark every two inches down the side of the boards. Duplicate this process on the right sides. These marks are the guide for the wood screws that will hold the box together.
- Generally, a traditional raised bed is a 4-foot-by-8-foot planter box.
- A smaller box, measuring 2 feet by 6 feet, should work well in the confines of rough terrain.
Align the cedar boards on flat ground to form a 2-foot by 6-foot box.
3. Screw the Box Together
Use the pencil marks as a guide and drill a starter hole through the 2-foot side boards with a 1/8" drill bit. Dry fit the planter box together and screw four-inch wood screws through the pilot holes, straight into the ends of the 6-foot boards to secure the wood pieces together.
4. Stabilize the Planter Box
Measure the top of each 6-foot side, marking a line every two feet. Drill a hole with the 1/8" drill bit into the side of two 2-inch-by-2-inch pieces of cedar that are 2 feet long. These cedar pieces go across the top of the planter box to keep the long sides from pushing out when the soil gets wet during the growing season. Screw the ends of the cedar pieces into place at the 2-foot marks that are on the top of the sides, using 4-inch screws.
5. Position and Level the Planter
Set the planter box on the hillside in the desired location so there is a walk way on at least one of the long sides of the planter. Place the level on the planter and lift the sides, ends or both to make it level. Prop the planter in place with bricks or small sections of 2-by-4 lumber. If there are only small gaps — less than an inch — between the ground and the bottom of the planter, gently tap the top of the sides with a small mallet so the wood comes in contact with the ground. Alternatively, you can use a garden shovel to remove small sections of soil so the planter rests on the soil.
- Use the pencil marks as a guide and drill a starter hole through the 2-foot side boards with a 1/8" drill bit.
6. Remove Large Gaps
Locate large gaps where the planter rises above the terrain, and soil removal is not an option. Place a cedar board inside the planter so the wide area is flush with the existing board and the narrow edge touches the ground. Use a 2-foot board for the width and a 6-foot board for the length. Using the outside of the box as a straight edge, draw a line along the exposed inside cedar board. **Mark this section of the board with an 'X'**. Cut along the line with a saw. Attach the marked board to the bottom of the planter with wood screws so the planter sits level on the soil.
- Locate large gaps where the planter rises above the terrain, and soil removal is not an option.
- Attach the marked board to the bottom of the planter with wood screws so the planter sits level on the soil.
Soil Mixture and Amendments
Once the raised planter is in place, the soil and any amendments may be added to the box. The task of filling the planter is less daunting if you build the soil mixture in layers — soil on compost on sand, for example. A garden hoe makes an excellent mixing utensil to incorporate all the components of the soil mixture. Once filled, the planters are ready for seeds and plants.
Build Concrete Block Raised Planters
Mark the perimeter of the raised bed on the ground. Calculate the total number of blocks you need by dividing the perimeter by 16 inches, then multiply by 2. Dig out enough soil so the blocks will be an inch below the surrounding soil. Use a string line to make the sides straight. Lay a single row of blocks around the perimeter of the bed. Adjust the dimensions as necessary to make the blocks fit. Square the corners with a carpenter's level.
- Once the raised planter is in place, the soil and any amendments may be added to the box.
- Once filled, the planters are ready for seeds and plants.
Mark the perimeter of the raised bed on the ground.
Things Needed
- 2 – 2" x 6" cedar boards, 2 feet long
- 2 – 2" x 6" cedar boards, 6 feet long
- Tape measure
- Saw
- Drill with 1/8" drill bit
- 24 four-inch wood screws
- 2 two-inch cedar wood strips, 2 feet long
- Carpenter's level
- Bricks or small pieces of 2x4 lumber
- Garden shovel
- Small mallet
- 1 Cedar board, 2 feet long
- 1 Cedar board, 6 feet long
Warning
Avoid wood or building materials that contain harmful chemicals, such as railroad ties, when building planters for food production.
References
- Earth Easy: How to Build a Raised Garden Bed on Sloping, Uneven Ground
- Purdue University Cooperative Extension: Container and Raised Bed Gardening
- J&L Garden Center: Raised Bed Gardening
- Clemson University Cooperative Extension: Raised Beds
- University of Missouri Cooperative Extension: Raised-Bed Gardening
- University of Arizona Cooperative Extension: Raised Bed Construction
- University of Missouri Extension: Raised Bed Gardening