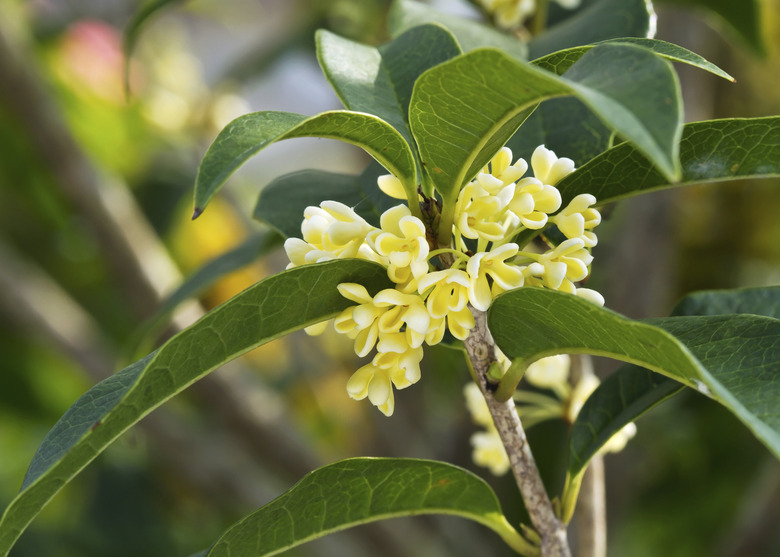
How To Care For A Tea Olive Shrub
Native to east-central Asia, the tea olive (Osmanthus fragrans) grows 10 to 15 feet tall and wide in most landscape situations. It is best suited to U.S. Department of Agriculture plant hardiness zones 8b through 11. Often used as a pruned hedge or building foundation plant, the tea olive bears evergreen oval leaves. From early autumn to spring, a pleasant fragrance wafts from its tiny white or golden blossoms. Sporadic, fragrant blooms continue through summer. Tea olive has no serious disease or insect pests.
Step 1
Irrigate your tea olive to supplement natural rainfall during the growing season from spring to fall. Although adaptable to both sun and shade as well as any soil type, tea olive falters in bone-dry soil or when subjected to soggy ground. Keep roots moist for the the first year after planting and water during severe droughts. Under normal circumstances, established, tea olives need little supplemental water.
Step 2
Lay and maintain a 3-inch layer of organic mulch over the root zone of the tea olive. Pine bark, coarse compost or fallen leaves help retain soil moisture and keep soil temperatures constant. Extend the mulch 3 to 5 feet beyond the trunk, to farthest reach of the branch tips . Replenish mulch anytime as it decomposes, providing tea olive roots with nutrients.
Step 3
- Irrigate your tea olive to supplement natural rainfall during the growing season from spring to fall.
- Replenish mulch anytime as it decomposes, providing tea olive roots with nutrients.
Step 4
Scatter a balanced, slow-release, granular fertilizer such as 14-14-14 around the base of your tea olive in spring. Work 3 tablespoons lightly into the soil's top layer, and water it in thoroughly. If you maintain an organic mulch layer such as compost around a tea olive, no additional fertilizer is needed. However, sandy soils lose nitrogen quickly, so fertilize annually in sandy soil.
Step 5
Prune away dead, damaged or diseased branches from tea olives any time of year. Use sharp bypass pruning shears, and wear gloves and safety goggles when you prune. Make cuts 1/4 to 1/2 inch above a lower branch junction or leaf. To prevent the spread of disease, sterilize pruner blades with household disinfectant before and after you prune.
Step 6
- Scatter a balanced, slow-release, granular fertilizer such as 14-14-14 around the base of your tea olive in spring.
Step 7
Shape the branch tips on tea olive in mid to late spring. Follow the plant's natural silhouette, and trim only awkward or long branch tips. Sharp pruning shears cut branch tips quickly with crisp, clean, fast-healing cuts. Avoid pruning from midsummer to early spring or you may remove flower buds that deliver tea olive's hallmark feature fragrance.
Step 8
Watch for insect pests if your tea olive becomes stressed or unhealthy. Healthy plants are rarely bothered, but pests can attack when opportunities arise. Aphids and scale are common attackers. Catch pests early, and remove scale manually before they take hold. Use a blast of water from a hose to dislodge aphids from your tea olive before they settle in.
Step 9
- Shape the branch tips on tea olive in mid to late spring.
- Avoid pruning from midsummer to early spring or you may remove flower buds that deliver tea olive's hallmark feature fragrance.
References
- Dirr's Trees and Shrubs for Warm Climates; Michael A. Dirr
- University of Florida IFAS Gardening Solutions: Tea Olive
- Floridata: Osmanthus Fragrans
