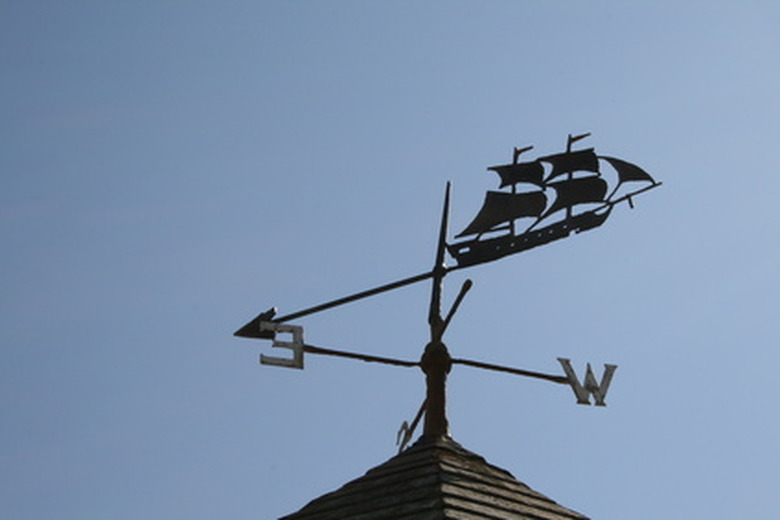
How To Build A Wind Direction Indicator
Things Needed
- Compass
- 5-foot wooden dowel, 1-inch diameter
- 1-foot wooden dowel, 3/4-inch diameter
- 3-inch wood screw
- Drill
- Drill bit set
- Hand saw
- 8-inch square aluminum sheeting
- Tin snips
- Epoxy
- 1-foot-by-1-foot plywood
- Shovel
Wind direction indicators, more commonly referred to as weather vanes, are popular lawn decorations that can be tailored to match any style. They consist of an arrow on a spindle and a fixed set of directional guides, and they are commonly mounted in open-air gardens and on rooftops. A quality weather vane must be weather proof; it must be able to withstand strong winds, rain, and possibly snow or ice, depending on your climate.
Step 1
Drill a hole through the 1-foot wooden dowel using the 3/8-inch drill bit, 6 inches from either end through the center. This should be wide enough to allow the 3-inch wood screw to fit inside loosely enough that it will be able to freely rotate.
Step 2
Cut out an isosceles triangle from the aluminum sheet, with sides of 3 inches, 3 inches, and 2 inches, and cut out a parallelogram roughly 5 inches at the base, 3 inches tall, and 3 inches at the top.
Step 3
Cut a 1-inch slit down the center of each end of the 1-foot wooden dowel. Make sure they are aligned radially. Slide the small end of the parallelogram and short side of the triangle piece into the slits, using epoxy to insert the aluminum pieces.
- Wind direction indicators, more commonly referred to as weather vanes, are popular lawn decorations that can be tailored to match any style.
- They consist of an arrow on a spindle and a fixed set of directional guides, and they are commonly mounted in open-air gardens and on rooftops.
Step 4
Cut out a cross out of the plywood, with each hand measuring 2 inches wide. Drill a hole exactly the diameter of the 5-foot dowel in the center of the cross.
Step 5
Dig a small hole in the ground where you want to mount the weather vane. It should be at least 1 foot deep.
Step 6
Place the dowel in the hole and fill in the hole with excess dirt. Use the level to get the dowel as vertical as possible.
Step 7
Slide the cross over the top of the pole. Use the compass to point one of the arms towards magnetic north, and secure it about a foot down from the top using epoxy.
- Cut out a cross out of the plywood, with each hand measuring 2 inches wide.
- Use the compass to point one of the arms towards magnetic north, and secure it about a foot down from the top using epoxy.
Step 8
Drill a small hole into the top of the pole. It should be narrow enough that the 3-inch wood screw will have wood to bite into. Slide a screw through the 1-foot dowel and drill it into the top of the pole, leaving enough room for the 1-foot dowel to freely rotate.
Tip
Further decorate your weather vane with paint.
Warning
Drill carefully through the dowels. Use a smaller drill bit as a starter if necessary.
