How To Make A Waterfall Dam

Step 1
Select your site. For natural streams, choose a location with steep banks of rock or impermeable clay, preferably at a bottleneck in the flow. For man-made waterways, create a site using the same guidelines. (Smaller flows, more common to backyard water features, present lower risks of dam failure, minimizing the importance of the site's features.)
Step 2
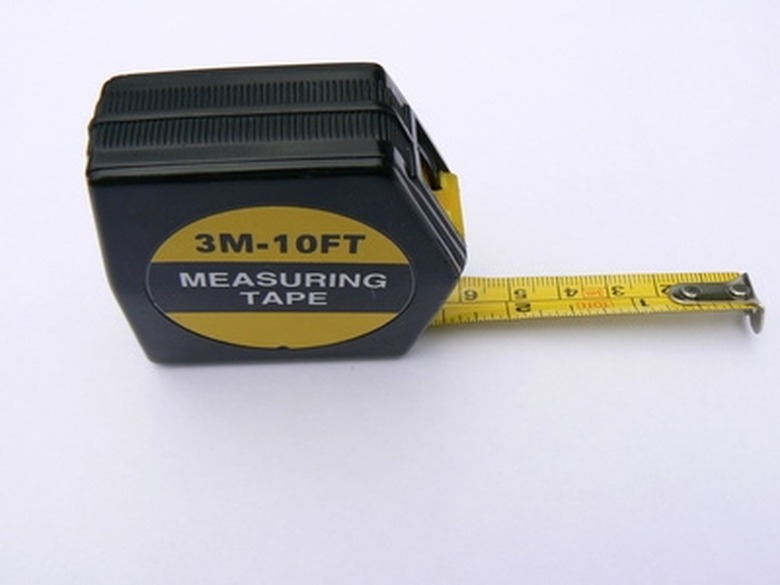
Estimate the cross-sectional area of the stream. To do so, measure the width and maximum depth of the flow at its peak (after a heavy rainstorm, for example). Multiply those two values together to find a generous approximation of the cross-sectional area, allowing for a factor of safety.
Step 3
- For natural streams, choose a location with steep banks of rock or impermeable clay, preferably at a bottleneck in the flow.
- To do so, measure the width and maximum depth of the flow at its peak (after a heavy rainstorm, for example).
Step 4
Determine the maximum height of your dam. The height of the banks limits this value, both at the dam site and upstream, to prevent the collected water from rising above the stream's normal boundaries and finding a new path around the dam.
Step 5
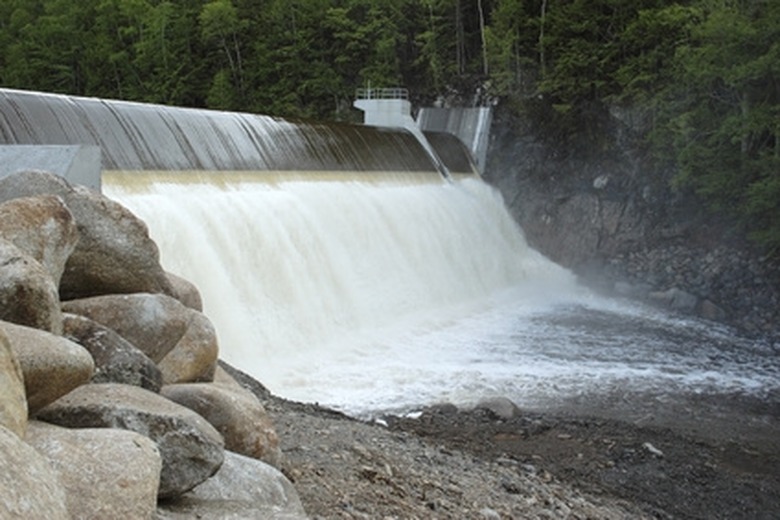
Determine the dimensions of the spillway, or the cut-out section in the top of a dam wall that water flows through. A spillway keeps the river within its banks as it passes over the waterfall and ensures that the stream's flow never rises above the top of the dam. Use a cut-out with the same area as the cross-section you found in Step 2, though you may choose to change the dimensions. Wider spillways allow for larger drop heights, but be sure that the stream doesn't exceed the width of the banks downstream.
Step 6
Draw a picture of the riverbed and dam, carefully labeling the dimensions. Include the height and width of the spillway and wing walls. Wing walls, the tallest sections of the dam wall, extend above the level of the spillway and maintain the flow of water over the spillway. Draw your wing walls flat on top, and extend them into the banks on both sides. The thickness of the dam depends on the size of the flow, and may range from 6 inches for very small streams to 2 feet or more for larger waterways.
Step 7
- Determine the maximum height of your dam.
- The height of the banks limits this value, both at the dam site and upstream, to prevent the collected water from rising above the stream's normal boundaries and finding a new path around the dam.
Step 8
Prepare your site for construction. If you choose to work with an existing stream, wait until the driest time of the year, create an alternate channel for the water to pass through while you work (making sure that it will be possible to close it when you finish the project) and prepare a trench in the clay or rock. Turn off the pump if working with a man-made waterway, and remove any algae or dirt to ensure a strong, impermeable connection between the concrete and building surface.
Step 9
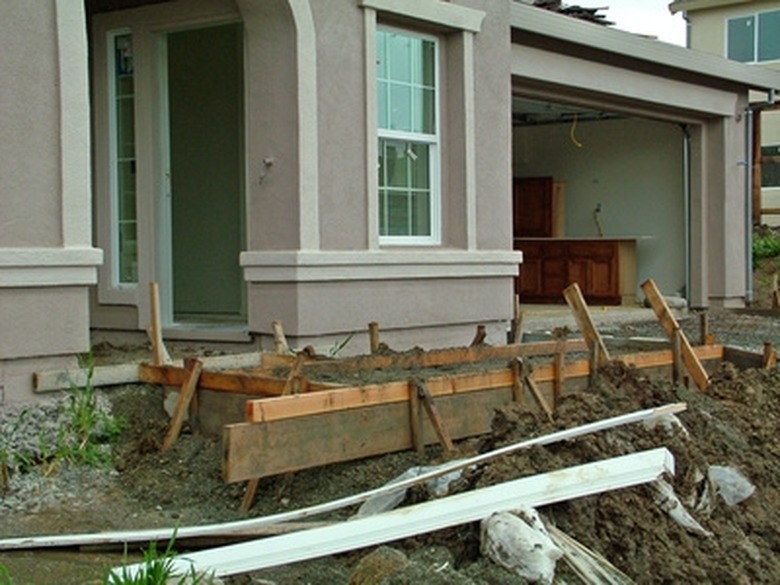
Use the wood, hammer and nails to create forms for your dam. Forms will help guide and support the concrete and rocks during construction, so be sure they reflect the dimensions of your design. Build forms in sections unless you are planning a very small structure.
Step 10
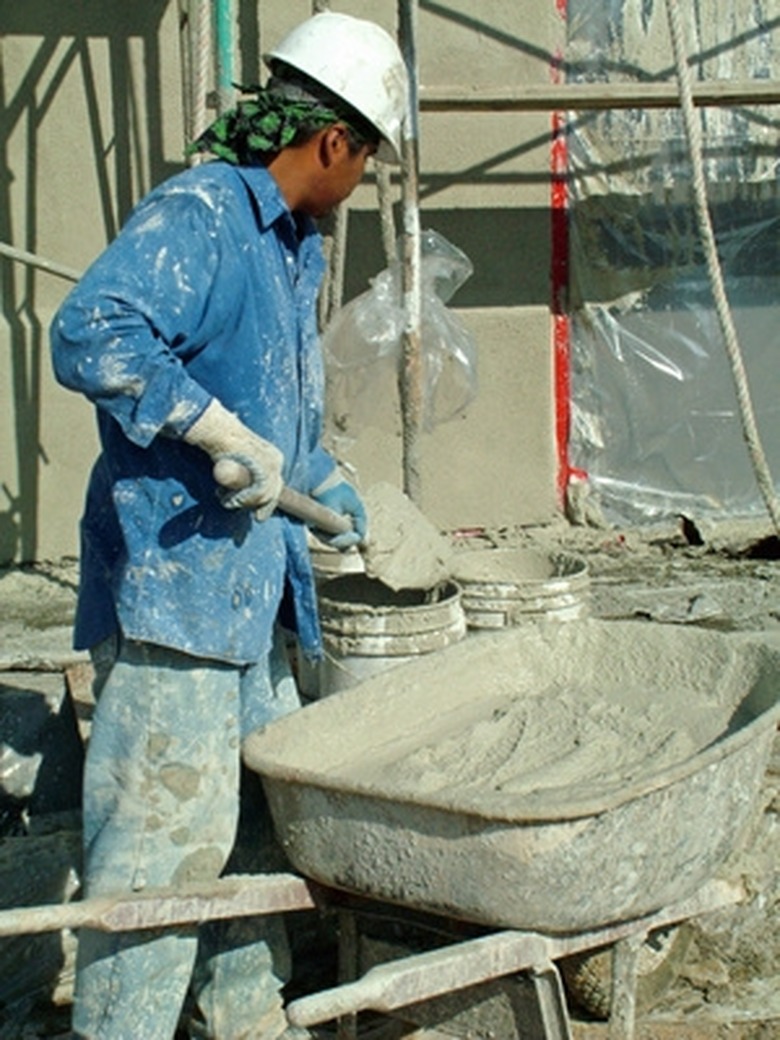
Mix your concrete mortar in the wheelbarrow using Portland cement, clean sand and water. Use about six times more sand than cement, and just enough water to make the concrete workable (too much will weaken the final product). Begin by mixing small batches of concrete until you gain confidence with the proportions.
Step 11
- Prepare your site for construction.
- If you choose to work with an existing stream, wait until the driest time of the year, create an alternate channel for the water to pass through while you work (making sure that it will be possible to close it when you finish the project) and prepare a trench in the clay or rock.
Step 12
Use a proportion of 65 percent stone to 35 percent concrete mortar in the construction of the dam wall to meet the standard of the Rainwater Harvesting Implementation Network for watertight structures. Starting from the base, alternate laying cement and rocks, using the cement as glue to fill spaces between the stones. Select rocks of varying sizes that fit together well, and make sure that no two stones come in contact with each other.
Step 13
Use the tape measure to determine when the wall has reached the level of the spillway. Reposition the forms to build the wing walls, leaving open a cut-out of the size you calculated in Step 4. After building the wing walls, place a thin layer of wet concrete along the top of the dam and use the trowel to smooth it out.
Step 14
Plaster the sides of the dam with concrete if desired, and use the trowel to create texture.
Step 15
- Use a proportion of 65 percent stone to 35 percent concrete mortar in the construction of the dam wall to meet the standard of the Rainwater Harvesting Implementation Network for watertight structures.
- Plaster the sides of the dam with concrete if desired, and use the trowel to create texture.
Step 16
Place a pile of rocks or a thin layer of concrete on the stream bed downstream of the dam. That prevents the cascading water from eroding the soil and possibly causing dam failure. Skip this step if your dam is built on rock.
Step 17
Sprinkle water on your dam every day for a week after construction to keep the cement from drying out too quickly during the curing process. This step increases the strength of the structure and avoids cracking, especially in hot, dry climates.