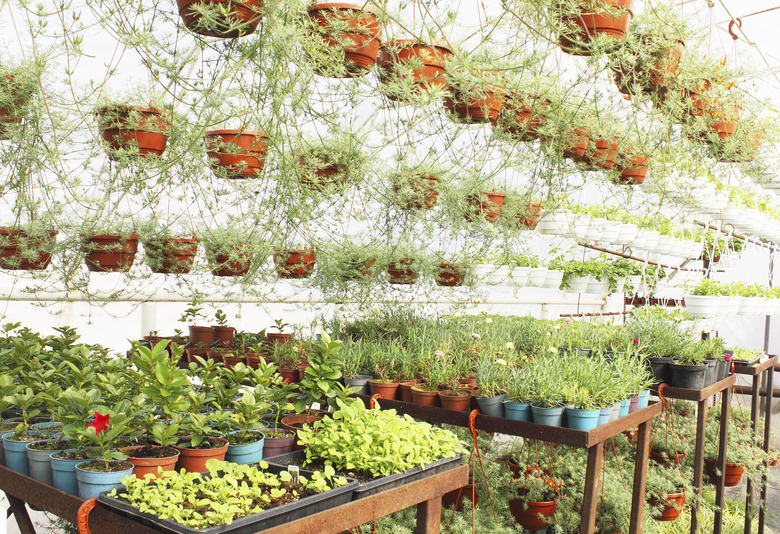
How To Make Greenhouse Shelving
A greenhouse is every hobby gardener's dream. Once you have your structure, it's time to add some shelving or benches. The size of your benches will depend on how long your greenhouse is and a comfortable working height for you. Use durable materials to construct your shelving and it will give you many years of gardening pleasure.
Things Needed
- Plastic or fiberglass storage shelving, coated metal shelves or wire mesh
- 2-by-4s made of cypress, redwood or hemlock
- Galvanized screws
- Saw
- Screwdriver
- Measuring tape
- Staple gun (optional)
- Safety equipment, such as gloves and goggles
A greenhouse is every hobby gardener's dream. Once you have your structure, it's time to add some shelving or benches. The size of your benches will depend on how long your greenhouse is and a comfortable working height for you. Use durable materials to construct your shelving and it will give you many years of gardening pleasure.
Choosing Shelf Materials
Step 1
Decide the size of shelf you will need for your greenhouse. You can build the shelf as long as you want, but make sure it is only 2 1/2 to 3 feet deep to ensure that you can reach all the way to the back.
Step 2
Pick the type of wood you want to use for the base. Hemlock, cypress and redwood are all good choices, because of their rot resistant qualities.
- A greenhouse is every hobby gardener's dream.
- Decide the size of shelf you will need for your greenhouse.
Step 3
Decide on shelving materials. Some inexpensive and convenient options for shelving are plastic or fiberglass storage shelves or vinyl-coated metal shelving. These materials are strong enough to hold flats of plants and are rust and rot resistant. Chicken wire or metal mesh may be stapled to the base instead, although these materials will not last as long.
Assembling The Shelf
Step 1
Cut the pieces as follows: three long sections — two for sides and one for the center support; four short sections–two for sides and two for leg supports — and four legs. The length of the shelf depends upon the size of your greenhouse. The length of the legs will depend upon how high you want your bench to be. Between 30 and 36 inches is a common height. Make the short sides and leg supports 2 1/2 to 3 feet long.
- Decide on shelving materials.
- The length of the legs will depend upon how high you want your bench to be.
Step 2
Assemble the base using the galvanized screws. Attach the two long side pieces to the short pieces at the corners to form a rectangle. Screw a leg piece into each corner of the rectangle to form a table. Add the center support down the middle of the rectangle and screw the remaining short pieces across each pair of legs to give the base of the shelf more strength and stability.
Step 3
Lay the shelving on top of the wooden base. If you can't find one piece of shelving to cover the entire width of the base, you can use two narrower pieces as long as they meet at the center support. If you are using wire mesh, staple it securely to the wooden frame.
- Assemble the base using the galvanized screws.
- Screw a leg piece into each corner of the rectangle to form a table.
Tip
You can add more layers of shelving on top of the first, but be careful not to shade the plants on the bottom shelf too much. Spread a layer of gravel under your shelves to drain any spilled water.
Warning
Avoid using pressure treated lumber in a greenhouse setting, because fumes can damage plants.
