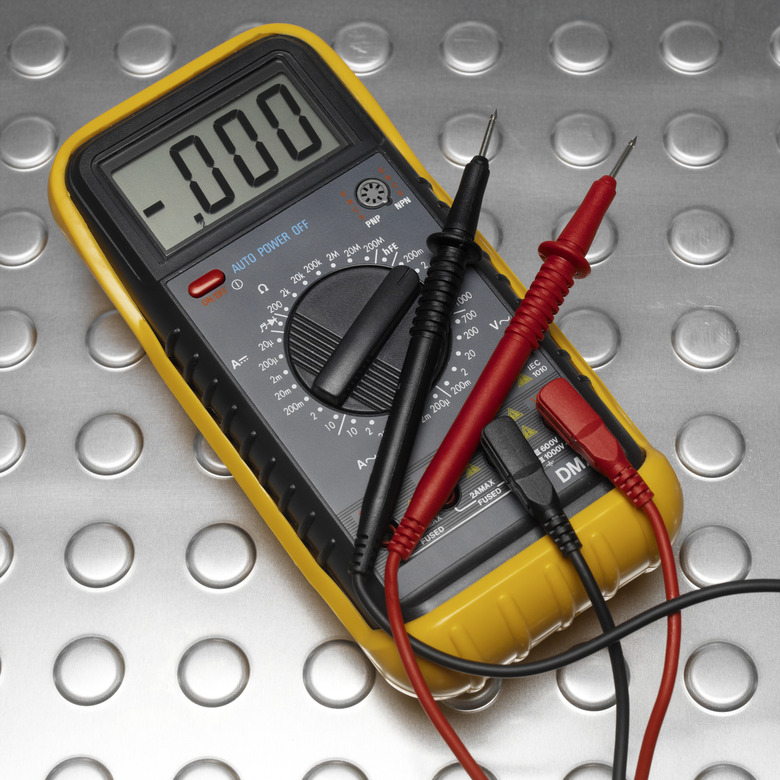
How To Do I Test A John Deere 110 Ignition Switch
Things Needed
- Multimeter
- Assistant or second person
The John Deere 110 was produced from 1963 to 1974. The 110 was available with a choice of a 277, 305 or 390-cubic-inch Kohler one-cylinder engine. The 110 was equipped with a 44-inch wheelbase, and it came with a 42-inch mowing deck. The ignition switch on the 110 is located just behind the dash kick panel, on the other end of the ignition lock cylinder. When the ignition switch malfunctions, none of the dash panel instruments, such as the ammeter, will work.
Step 1
Open the hood of the tractor by leaning it forward over the front end. Look behind the dash kick panel, and locate the inner end of the ignition switch. Check the wires to the switch to make sure they are properly connected, and not burned or melted.
- The John Deere 110 was produced from 1963 to 1974.
- The ignition switch on the 110 is located just behind the dash kick panel, on the other end of the ignition lock cylinder.
Step 2
Turn on the multimeter and set the dial to "V" for volts. Attach the red probe from the multimeter to the red wire on the inner ignition switch wiring connector. Attach the black probe to the black wire on the same connector.
Step 3
Ask your assistant to sit on the tractor and make sure the gear selector is in the "N" position. Tell him or her to turn the key to attempt starting the mower. Make sure your hands and feet are away from the moving parts of the engine. Read the multimeter as your assistant turns the key. If there is a voltage reading and the mower will not start, then the ignition switch is malfunctioning. If there is no voltage reading, then there is no current going to the switch — proceed to Step 4 if there is no current going to the switch.
- Turn on the multimeter and set the dial to "V" for volts.
- If there is a voltage reading and the mower will not start, then the ignition switch is malfunctioning.
Step 4
Trace the wiring harness with your hands to the chassis, about one foot from the ignition switch. Locate the small box attached to the wiring, on the left (sitting on the tractor) side of the engine. This box is the neutral safety switch. Attach the red probe from the multimeter to the red wire on the safety switch. Attach the black probe to the black wire.
Step 5
Ask your assistant to make sure the gear selector is in the "N" position, and try to start the tractor. Keep your hands and feet away from moving parts of the engine. Read the multimeter as your assistant turns the key. If there is voltage to the neutral safety switch, but no voltage to the ignition switch, then the neutral safety switch is malfunctioning. If there is no voltage to the neutral switch, then proceed to check all of the ignition wires, the fuse panel, and the ignition circuit breaker.
- Trace the wiring harness with your hands to the chassis, about one foot from the ignition switch.
Tip
The neutral safety switch will only allow the engine to be started when the gear selector is in the "N" position, which means the transmission is set in neutral.
Warning
Test the starter solenoid with the battery disconnected from the tractor. Test the ohms of resistance from the solenoid, rather than the voltage to the solenoid. Failure to disconnect the battery could result in electrical surging in the tractor wiring, or electrical shock.
