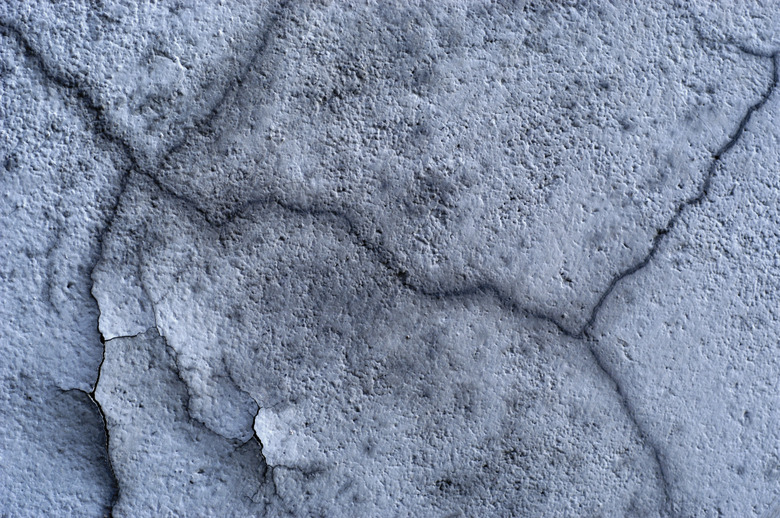
How To Repair A Cracked Cement Driveway
It is not uncommon for cracks to form in a cement driveway. Although cement is quite durable, water can seep under the concrete and thaw and freeze, causing cracks to form. Cracks in cement driveways can also be caused by everyday wear and tear. No matter how the crack has formed in the cement, it is important to repair cement driveway cracks as soon as you notice them to avoid a bigger problem down the road.
Step 1
Clean out the cracks and surrounding area thoroughly to remove any loose debris or dirt. Use a power washer or garden hose on the highest setting to spray out any dirt and debris from the cracks. If grease or mildew is in or around the cracks, clean the area with dish detergent and water.
Step 2
Mix a batch of concrete resurfacer into a large bucket so that it is the consistency of a thick paste. Follow the manufacturer's instructions for specific mixing directions. Mix enough of the resurfacer to repair all of the driveway cracks.
Step 3
Pour a generous amount of the concrete resurfacer directly from the bucket into the cracks, working with one crack at a time. If you are working with one very long crack, work in small sections to repair the crack so that the resurfacer does not dry before you can smooth it out
Step 4
- Clean out the cracks and surrounding area thoroughly to remove any loose debris or dirt.
- Pour a generous amount of the concrete resurfacer directly from the bucket into the cracks, working with one crack at a time.
Step 5
Use a flat-edge trowel to smooth the concrete resurfacer into the cracks. Apply some pressure and run the trowel back and forth over the crack to force the resurfacer deep down into the crack. Hold the trowel on its side to really push the mixture deep down into the cracks. Pour more of the resurfacer into the crack, if necessary, and go over the area with the trowel until the crack is completely filled. Allow the concrete resurfacer to dry overnight.
Step 6
Mix up a fresh batch of the concrete resurfacer the next day. This batch should be a much thinner consistency than the original batch. Again, follow the manufacturer's instructions for mixing a thin batch of the concrete resurfacer.
Step 7
- Use a flat-edge trowel to smooth the concrete resurfacer into the cracks.
Step 8
Wet down the driveway with a garden hose. Pour the concrete resurfacer onto the repaired driveway cracks, working on one crack at a time.
Step 9
Use a rubber squeegee to smooth out a thin coat of the resurfacer onto the cracks. Go over each area several times to achieve an even coat of resurfacer that blends with the existing driveway cement.
Step 10
Allow the resurfacer to dry overnight before allowing any car traffic onto the area. Foot traffic can generally be tolerated after about six hours, but follow the manufacturer's instructions for drying and curing times.
