How To Grow Winterberry From Cuttings
A deciduous member of the holly family, winterberry (Ilex verticillata) brings vibrant color to the garden with masses of bright red berries on bare stems from fall into midwinter. Winterberry, which grows in U.S. Department of Agriculture plant hardiness zones 4a through 8b, reaches mature heights of 6 to 15 feet. Winterberry roots easily and has a high rate of success by planting cuttings directly into pots in midsummer.
Step 1
Step 1
Cut 3- to 4-inch stems from a healthy winterberry plant in midsummer. Use a sharp, clean knife or pruners to cut each stem just below a node — a small bump where a bud or leave is emerging. Choose stems with dark green leaves, which have more natural plant hormones. Take at least two or three cuttings in case some don't root.
- A deciduous member of the holly family, winterberry (Ilex verticillata) brings vibrant color to the garden with masses of bright red berries on bare stems from fall into midwinter.
Step 2
Step 2
Place the stems in a plastic bag to keep them moist while you prepare the planting container, but don't leave the cuttings in the bag for more than two hours.
Step 3
Step 3
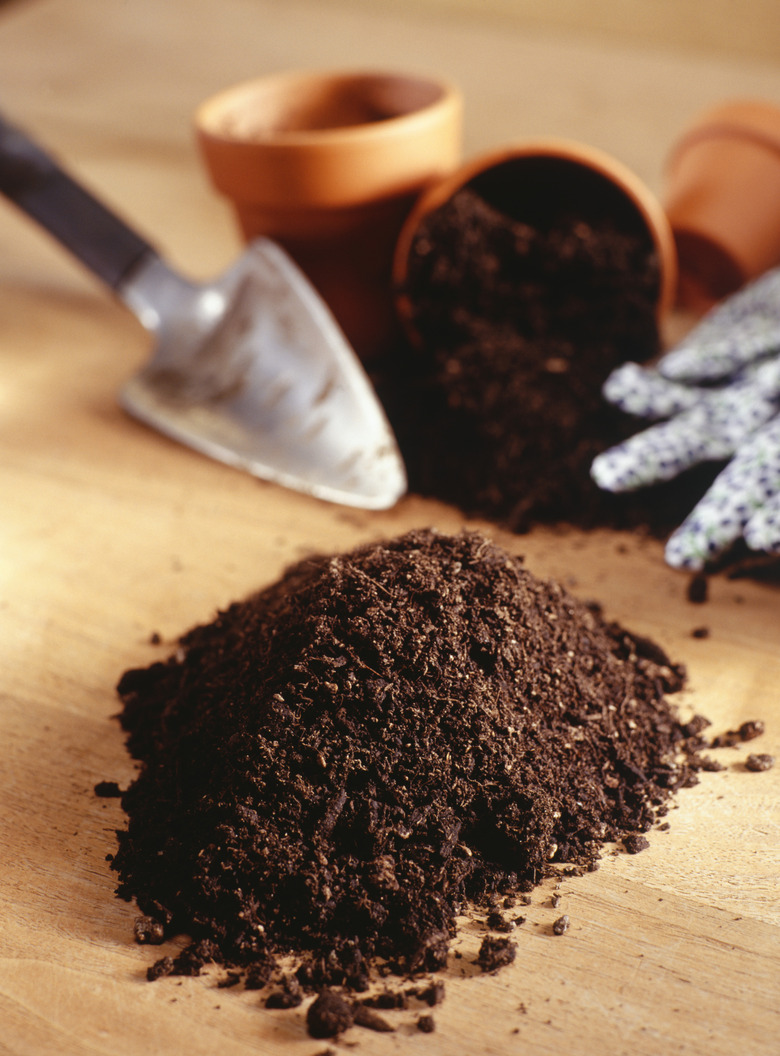
Fill a 4-inch pot for each cutting with equal parts peat moss and either perlite or fine bark. Spray the potting mix lightly until it is evenly and slightly moist.
Step 4
Step 4
Remove a tiny sliver of bark at the base of each stem with the tip of a sharp knife. The small wound helps the stem absorb hormones and water.
Step 5
Step 5
Poke a planting hole in the center of each pot, using your fingertip or the eraser end of a pencil. Dip the base of the stems in powdered or liquid rooting hormone, then place them in the holes with the leaves just above the potting mix. Make sure the leaves don't overlap or touch the potting mixture.
- Place the stems in a plastic bag to keep them moist while you prepare the planting container, but don't leave the cuttings in the bag for more than two hours.
Step 6
Step 6
Place the pot in a room away from intense, direct sunlight. Water the potting mixture regularly to keep the mixture evenly moist. Alternatively, you can cover the pot with a plastic bag sealed securely with a rubber band. Open the bag for about 10 minutes twice each week to provide ventilation.
Step 7
Step 7
Remove the plastic when new growth appears, usually in about four weeks. Continue to keep the pot in indirect light and water lightly as needed to keep the potting mixture slightly moist.
Step 8
Step 8
Feed the plants once every month for the remainder of summer, using 1 teaspoon of general-purpose, slow-release plant fertilizer for each 1 quart of potting mixture. Decrease the amount of fertilizer to 1/2 teaspoon during fall and winter. Check the fertilizer label for specific rates as they may vary.
- Place the pot in a room away from intense, direct sunlight.
- Continue to keep the pot in indirect light and water lightly as needed to keep the potting mixture slightly moist.
Step 9
Step 9
Plant the winterberry bush outdoors after all danger of frost has passed the following spring. You can also plant the winterberry in a 1-gallon container filled with regular commercial potting soil and let it mature for another year.
Tip
Cuttings taken early in the morning are most likely to root because the plant is well hydrated.
Things Needed
- Sharp, clean knife or pruners
- Plastic bag
- 4-inch pots
- Spray bottle
- Peat moss
- Perlite or fine bark
- Pencil
- Powdered or liquid rooting hormone
- Plastic bag
- General-purpose, slow-release fertilizer
- 1-gallon containers
- Commercial potting soil
References
- The American Horticultural Society, Plant Propagation; Alan Toogood, Editor
- University of Tennessee Institute of Agriculture: UT Gardens' Plant of the Month: Winterberry Holly
- the New Sunset Western Garden Book; Kathleen Norris Brenzel, Editor
