How To Transplant Coral Bells
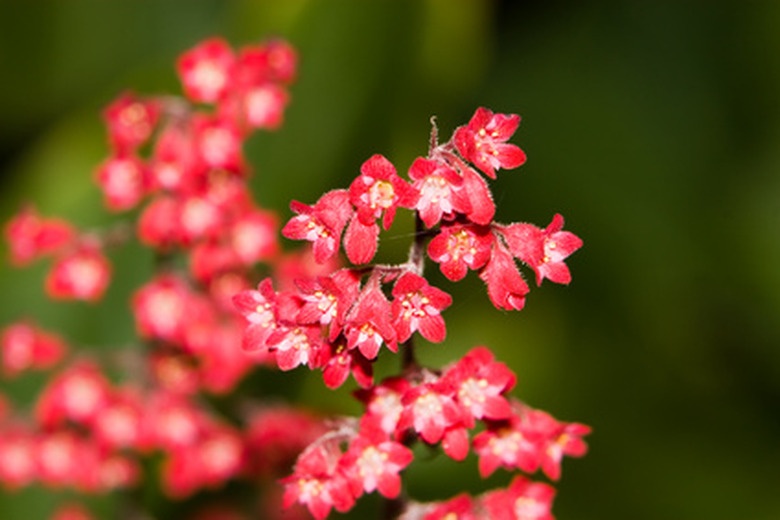
Coral bells is the name given to several species and many cultivars of the genus Heuchera. The beauty of coral bells centers around the shapely foliage and the tall, wispy flower stems in late spring. After four or five years in the garden, a coral bells clump can become large and reduce vigor. It's time to dig up the plant, perhaps divide it and transplant it for a nicer display. August and September is an opportune time for this task.
Step 1
Slice into the roots around the coral bells clump with a garden shovel at a distance 4 to 6 inches from the base of the foliage stems. Lift the leaves if necessary to see exactly where the leaf stems emerge from the soil. Make the shovel cuts vertically downward to a depth of 12 inches.
- Coral bells is the name given to several species and many cultivars of the genus Heuchera.
- After four or five years in the garden, a coral bells clump can become large and reduce vigor.
Step 2
Lift the root ball of the plant once the roots have been severed completely around the circumference of plant. Rest it next to the whole and tip it onto its side so you better see the root ball and size of the plant.
Step 3
Finger through the plant to see how large the clump is. You may feel several smaller clumps of stems within the larger plant mass, which indicates the possibility of dividing the clump further into many smaller plants.
Step 4
Wedge the shovel blade into the center of the root ball as it lays on its side on the ground. You are cutting gently into the base to split the large plant clump into at least two new plant clumps. Cut into the soil and pull it apart with your hands. Do not pull plants apart via the foliage.
- Lift the root ball of the plant once the roots have been severed completely around the circumference of plant.
- Rest it next to the whole and tip it onto its side so you better see the root ball and size of the plant.
Step 5
Separate the plant clumps, as needed, into smaller plant clumps that have intact foliage and stems.
Step 6
Dig new holes for the divided clumps of coral bells that are the same depth as the individual root balls, but two to three times their width.
Step 7
Place each root ball into a hole and back fill the hole with soil. Hold foliage up with one hand and push soil around the root ball to ensure the plant is sufficiently planted back into the ground. Do not push excess soil atop the foliage stem bases. The root ball's top must be at the same level as the top of the hole, on an even plane with the average soil level.
Step 8
Lightly tamp the soil around the root ball with your hands so that the roots are snug in the soil. Add more soil to fill any low voids in the planting hole.
- Separate the plant clumps, as needed, into smaller plant clumps that have intact foliage and stems.
- Lightly tamp the soil around the root ball with your hands so that the roots are snug in the soil.
Step 9
Water the newly planted coral bells with a sprinkling can, adding 1 to 2 inches of water to saturate the soil, remove air pockets and compact the soil particles. Monitor the transplants over the next 2 to 10 weeks, adding water to keep the soil moist, but never soggy.
Step 10
Scatter compost or mulch around the plants to tidy the garden site and retain soil moisture and moderate soil temperatures. Keep organic matter at least 2 inches away from the leaf stem bases to prevent rot.
Tip
You can divide and transplant the coral bells anytime from fall to early spring as long as the soil is not frozen or waterlogged. Retain all living foliage on this perennial during and after the transplanting. In the spring, few if any leaves may be present after a hard winter, but leaves will soon emerge as soil warms.
Warning
In cold winter regions, such as USDA Hardiness Zones 4 and 5, it may be best to dig and transplant coral bells in mid-spring just before the new leaves appear and the soil is workable. An autumn transplant in areas with early, long winters may render the coral bells' roots dehydrated, frost-damaged, or dead by spring.
Things Needed
- Garden shovel
- Gloves (optional)
- Sprinkling can
References
- "The Illustrated Encyclopedia of Perennials"; Marshall Craigmyle; 2002
- Hallson Gardens: Heuchera – Coral Bell
