How To Transplant Balloon Flowers
Balloon flowers are challenging to dig up and transplant because they have deep tap roots—but if you must move your balloon flower, do it in spring.
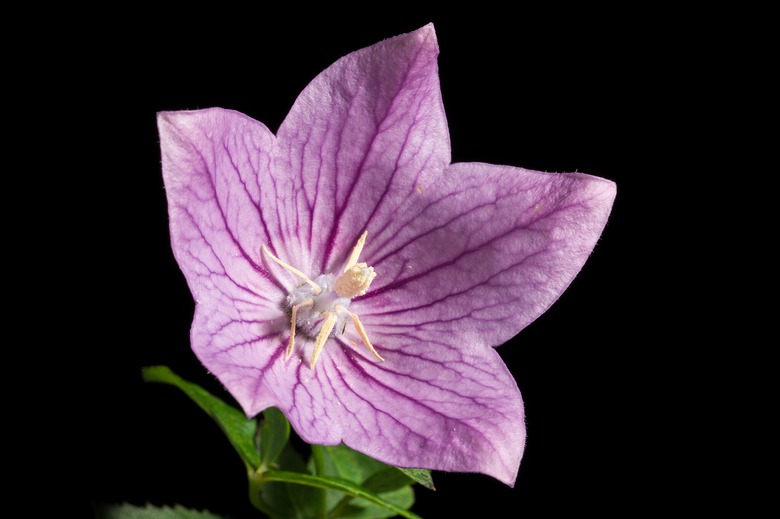
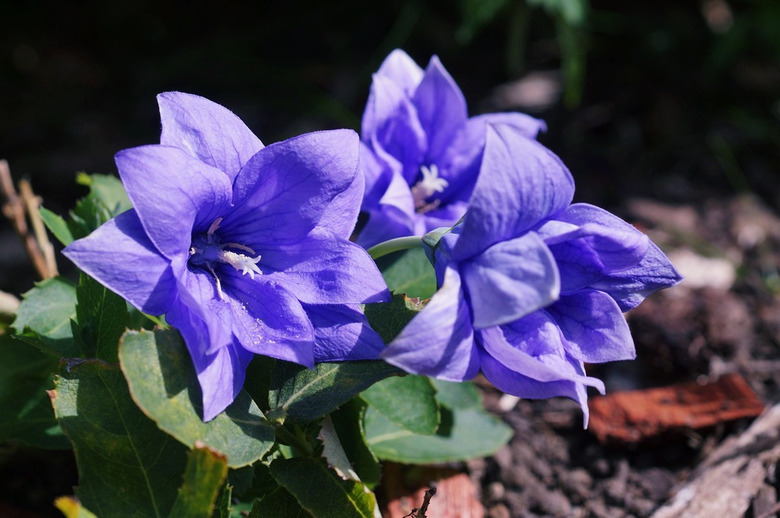
Also commonly called Japanese or Chinese bellflower, the balloon flower (Platycodon grandiflorus, USDA hardiness zones 3 to 8) is so called because its flower buds look like hot air balloons, and they pop when squeezed.
About the Balloon Flower
The balloon flower is a herbaceous perennial plant in the Campanulaceae family that grows from 1 to 2 feet high and a little more than a foot wide. It can handle both full sun and part shade, but the location must have well-draining soil.
Generally, the balloon flower is low maintenance and does not need staking or pruning, but it can be targeted by slugs and snails when its leaves are first emerging in late spring.
Many gardeners favor this reliable bloomer in rock gardens, in particular, the cultivar Astra Blue (Platycodon grandiflorus 'Astra Blue').
Flower colors include white, blue, purple and pink. The flower color is less vibrant in partial shade. Some varieties have balloon-like buds that don't actually open into a flower.
Prolong this plant's bloom time by deadheading its flowers by snipping them off when they are spent.
Transplanting a Balloon Flower
If you have a mature balloon flower plant, it may not transplant successfully, because its roots will be well established. Younger plants with smaller rootballs are easier to dig up and transplant. That said, let's consider the best strategy when you need to transplant a balloon flower, whatever its age.
If your flower doesn't make it, remember that propagation by seeds is common and easy with balloon flowers, so you should be able to replace your flower.
Tip
Fine Gardening provides a video on dividing perennials that have taproots. Division first entails digging out the rootball, so the process is similar to transplanting an entire plant, but you then end up with multiple plants. One key point is to slice the roots into pieces while ensuring each piece has a section of the taproot itself; otherwise, the new division will fail to grow.
Transplant in Spring
Before even thinking about transplanting, consider the time of year. For the best outcome, plan for spring, probably early spring, because you want to have completed this task long before new growth appears and the growing season begins.
Water the Plant Well
First off, water your plant deeply. This loosens the soil around it and provides it with moisture during the process.
Prepare the New Location
Before digging out your plant, prepare its destination. Choose a location with well-draining soil in either full sun or part shade.
Dig a hole about the same size as you expect the rootball to be. Your goal is to place the rootball into this hole at the same level as it was in its existing location. Then, water the hole.
Dig Out the Plant
This is the hard part, not only because it may entail a lot of shovel and spade work and maybe pickaxing, but because it also requires as much finesse as you can muster to limit damage to the rootball and its taproot.
Dig a trench in a circle around the plant, large enough to accommodate as much of the rootball's width as you can. Then, dig as deeply as possible around the plant, trying to get under the rootball. Your goal is to remove a wide swath of soil around the plant so the root system will be intact.
Using your shovel (and perhaps another person with an additional shovel if the plant is large), lift out the rootball, retaining the soil.
Tip
If the rootball is large, it may be helpful to place it on a tarp and drag it to its new location.
Replant the Plant
Place the rootball into the hole you prepared and cover it with soil. Tamp the soil down with your foot and water it thoroughly. Then hope for the best. If new growth emerges, your plant has made it.

