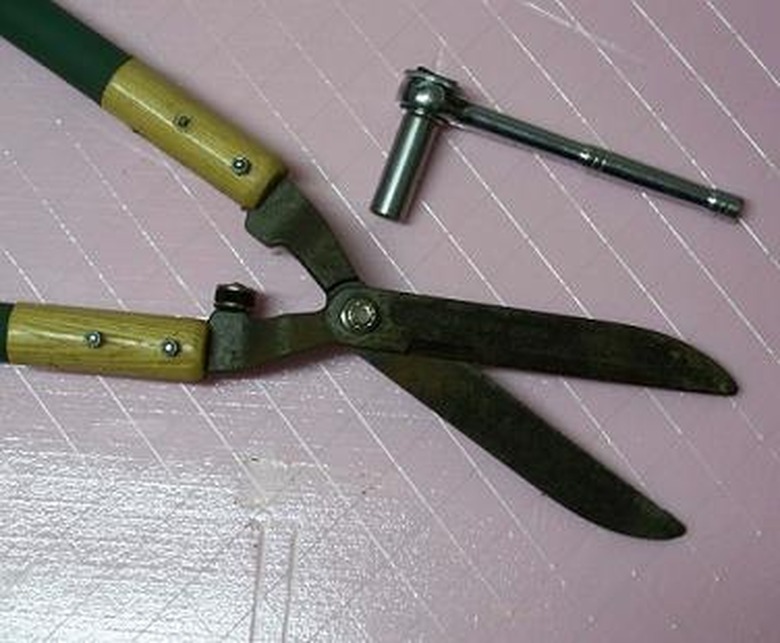
How To Sharpen Hedge Trimmers
Things Needed
- Hedge trimmers
- Lubricant (WD40 or light machine oil)
- Fine flat file
- Whetstone
- Round file, optional
- Vise
- Wrench, optional
- Safety goggles
Tip
Always wear safety goggles when you work around metal filings. Coat the blades with a light layer of WD-40 or oil. This helps keep sap from sticking to the blades during use and protects the metal from corrosion during storage. Use a whetstone the way you use the file to achieve a very fine cutting edge. Keep a few drops of oil on the whetstone to carry the tiny metal dust particles away from the working edge.
Warning
File teeth are designed to sharpen in one direction. Be sure to "push" the file towards the edge of the blade. Drawing it backwards will dull the edge you just sharpened.
Whether you trim shrubs and hedges with hand trimmers or electric trimmers, keep the blades sharp. Sharp blades are safer to use because you won't struggle and hack trying to clip, and they make a neat, clean, professional looking trim for your hedge. Sharpening is not a difficult task, and the time it takes to sharpen your trimmers will be saved when you breeze through the trimming task.
Hand Trimmers
Step 1
Secure your hedge trimmers in a vise in a wide open position. Wipe the blades clean with WD-40 or oil.
Step 2
Use a fine-grit flat file, and smooth off any large nicks from the flat back sides of the blades. Finish the flat side of the blades with a flat whetstone and a few drops of oil.
- Whether you trim shrubs and hedges with hand trimmers or electric trimmers, keep the blades sharp.
- Finish the flat side of the blades with a flat whetstone and a few drops of oil.
Step 3
On the beveled top edge of the straight (non-serrated) blade, hold the flat file at the same angle as the original bevel. Push the file towards the edge of the blade; do not "saw" it back and forth. Work the blade edge from the bolt joint of the blade to the tip, always pushing the file towards the edge. Finish with a whetstone.
Step 4
If one of the top blade edges is serrated, use a small round file to sharpen each "dip." Push the round file towards the edge of the blade serrations; do not "saw" it back and forth. Give each dip an equal number of strokes with the file, usually 4 or 5 is plenty. Using an equal number of strokes keeps the tips of the teeth and the outline of the serrated edge even for better trimming.
- On the beveled top edge of the straight (non-serrated) blade, hold the flat file at the same angle as the original bevel.
- Work the blade edge from the bolt joint of the blade to the tip, always pushing the file towards the edge.
Step 5
Extremely dull or damaged blades may need to be taken apart for more thorough sharpening. Loosen the nut on the back of the trimmers, and separate the blades. Put each one in the vise separately while you work on it. Reassemble the trimmers.
Power hedge trimmers
Step 1
Follow the specific instructions in your owner's manual to remove the blades from your trimmer.
Step 2
Separate the blades. Secure one at a time in the vise.
- Extremely dull or damaged blades may need to be taken apart for more thorough sharpening.
- Put each one in the vise separately while you work on it.
Step 3
Use the file and technique recommended by the manufacturer.
Step 4
Reassemble the blades, and replace them in your trimmer.
