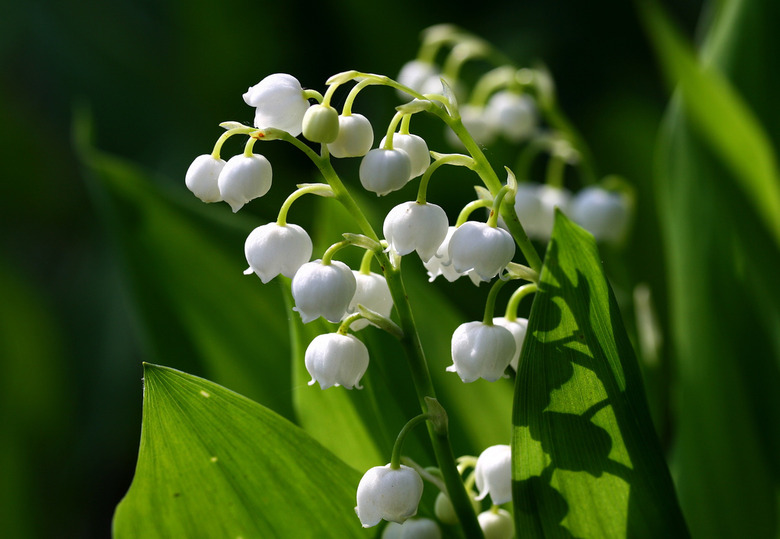
How To Transplant Lily Of The Valley
Things Needed
- Lily of the valley plants
- Sharp shovel
- Sharp shears
- Bucket of water
- Organic compost
The delightful, easy-to-grow lily of the valley requires very little in the way of maintenance, and it isn't fussy about much of anything. It's a great choice for ground cover because of its compact, low growth habit (about 6 inches tall), and its ability to spread rapidly. They're so prolific that you may find it necessary to restrict their growth. Lily of the valley do best in USDA zones 3 to 7. They are lovely in containers and as ground cover. Plan on dividing your plants every 3 to 5 years.
Step 1
Examine your existing lily of the valley plants to determine whether they really should be divided. If you've noticed that the blooms have become scarce on your plants, it means that it's time to dig and divide them for transplant, because they're overcrowded. You can also divide them when you simply want more plants. This can be done either in early spring or in the fall, between early September and mid-October.
- The delightful, easy-to-grow lily of the valley requires very little in the way of maintenance, and it isn't fussy about much of anything.
- If you've noticed that the blooms have become scarce on your plants, it means that it's time to dig and divide them for transplant, because They're overcrowded.
Step 2
Choose a transplant spot in shade or partial sun with very good drainage. Lily of the valley can even thrive in full sun as long as they're not allowed to dry out. They love evenly moist soil but don't enjoy wet feet. These tough little plants will adapt to practically any soil type but truly appreciate a fertile location.
Step 3
Water the plants that you plan to divide very well 1 or 2 days prior to dividing them. Prune long foliage and stems to 5 or 6 inches above ground level. This will reduce the loss of moisture from the plants and make dividing them much easier.
- Choose a transplant spot in shade or partial sun with very good drainage.
- Water the plants that you plan to divide very well 1 or 2 days prior to dividing them.
Step 4
Dig down deeply into the soil, 4 to 6 inches away from your plant, with a clean, sharp shovel. Use it to pry underneath the plant and lift the entire rhizome clump in one piece. If the clump is too large and heavy to lift this way, you'll have to cut it apart with the shovel in order to lift the parent plant. Dig your clumps very early in the morning or late in the afternoon, or keep them in the shade during their move. It's important not to expose them to direct sun.
Step 5
Remove loose soil from the rhizomes by shaking the clump gently or hosing it off, so you can see exactly what you're doing. Cut off any dead stems and leaves. Inspect the rhizomes for damage or disease. Cut off any such areas with clean, sharp shears and discard them.
- Dig down deeply into the soil, 4 to 6 inches away from your plant, with a clean, sharp shovel.
- Remove loose soil from the rhizomes by shaking the clump gently or hosing it off, so you can see exactly what you're doing.
Step 6
Plant the divisions immediately. Have a bucket of water on hand for moistening rhizomes while you're working to keep them from drying out. Always replant your divisions at the same soil depth that they originally occupied. Eliminate air pockets from around the roots by firming the soil as you go. Mulch with about ½ inch of organic compost 6 inches around the plant, and water it well right away before moving on to the next division to be transplanted.
