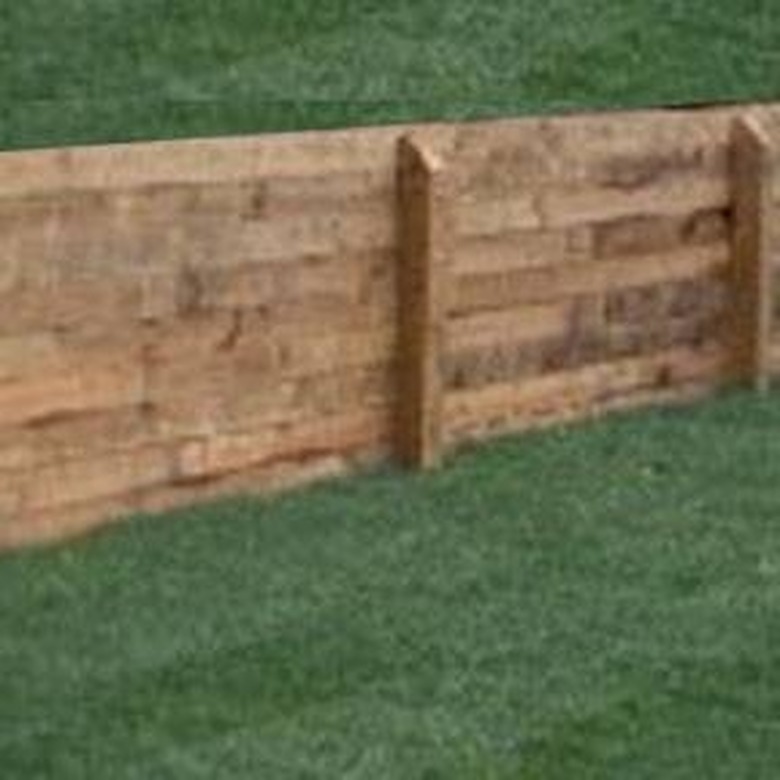
How To Build A Pressure Treated Retaining Wall
Things Needed
- Pressure-treated lumber
- Circular saw
- Screw gun
- Stainless or aluminum screw
- Post hole digger
- Concrete
- Level
- Measuring tape
Tip
If your wall will be higher than 2 feet, consider using concrete blocks or poured concrete. These materials withstand more force from the soil than does pressure-treated lumber.
Warning
Observe all safety precautions when using power equipment.
Pressure treated wood comes in many dimensions and because it is chemically infused with Chromium Copper Arsenate (CCA) or Alkaline Copper (ACQ) while under pressure, it resists damage from water and boring insects. Although it reduces the likelihood of damage, pressure treated lumber will eventually succumb to water, rotting and insects, although much slower than it would have if left untreated. Pressure treated wood should only be used for low retaining walls and limited to areas that have good drainage. Since wood does not bear an equal amount of pressure, per square inch as does concrete or other masonry, opt for a stronger material if your wall will be higher than 2-feet.
Step 1
Begin by determining the location and the desired height of the retaining wall. Although you will have 2 feet or less above ground, beneath the ground the support timbers will extend at least three feet down in order to support the force on the retaining wall from the soil.
Step 2
Dig the holes for the support posts no more than 3 feet apart. In soft soils dig an extra foot. Before you position that digger, however, call every local utility company in the area and have them come out and make sure you will not cut through a line or a pipe. If you do not call, they may charge you for repairs.
Step 3
Choose the straightest pressure-treated posts for the upright support beams. Cut your posts six inches longer than the depth of your holes plus the height of the retaining wall. For instance, if you want a 2-foot high wall, cut your posts 5 1/2-foot long. Place one post in each hole. There will be excess room on the sides.
Step 4
Mix up some quick-type concrete and fill one hole at a time, with the post still in the hole. Fill the hole slowly, taking care to hold the post upright and in the center of the hole. An assistant is desirable. While the concrete is still wet, hold a level against each side to make sure it is straight. Make sure a flat portion of the post is facing the inside of the wall so the horizontal boards will fit tightly.
Step 5
Begin installing the horizontal boards, one at a time, beginning with the bottom board and working your way up. Level the bottom board before using stainless or aluminum screws to attach it from the backside to the support posts. Repeat with the next board. Level each board separately since treated lumber has small bends and inconsistencies.
Step 6
Use the circular saw to cut off the excess top of the posts and level up any side boards. Now you are ready to shovel the dirt against your low retaining wall and plant or landscape.

