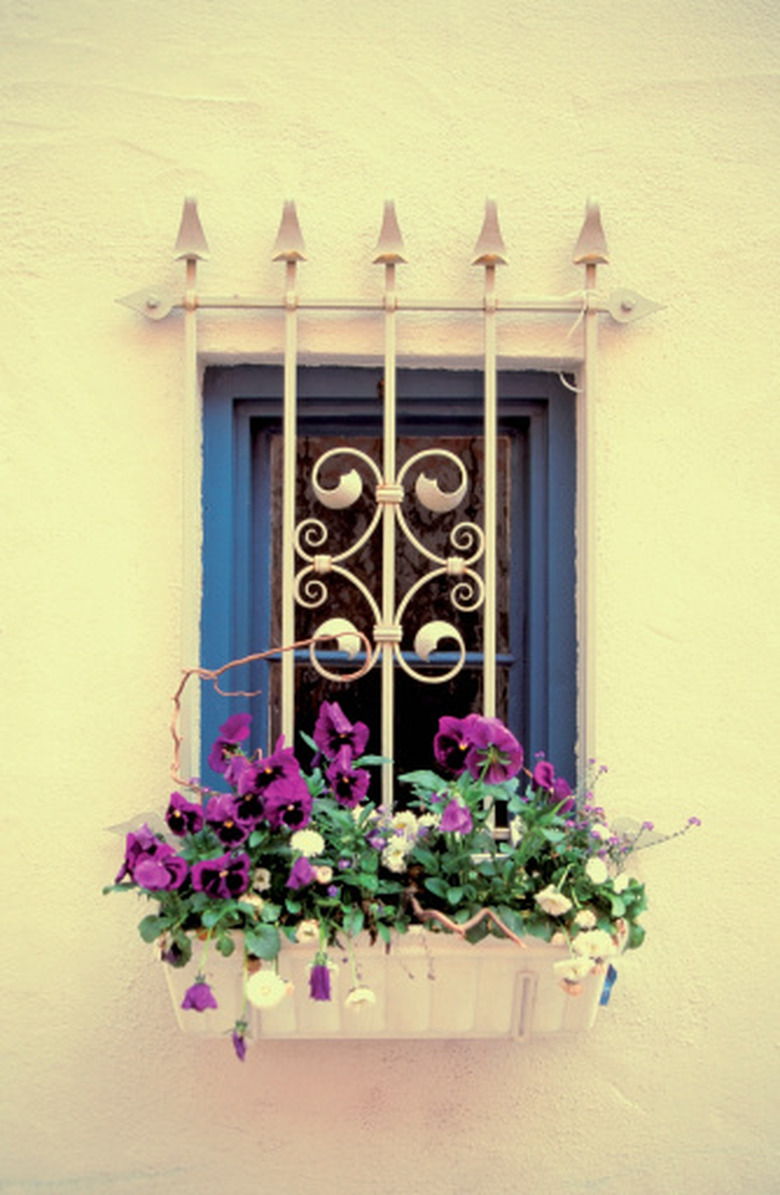
How To Use A Planter Box
Things Needed
- Drill (optional)
- 1/4-inch drill bit (optional)
- Bricks or wood blocks
- Bucket
- Sand
- Garden loam
- Peat moss
- Water
- Liquid plant fertilizer
Warning
Use care not to apply too much fertilizer since the excess nutrients have no where to go and will kill the plants.
Planter boxes offer some advantages over ground planting, including the ability to better regulate the soil nutrients and water, as well as to be able to move the planters as needed. Some planter boxes also have brackets, allowing them to be hung under windows or on patio and deck railings. However, since the planter boxes are self-contained systems, you must follow the proper steps when using them to provide the best growth environment for the plants.
Step 1
Turn the planter box upside down and ensure it has at least two to three holes in the bottom to allow for adequate drainage. If no drainage holes are on the box, create them using a drill and a 1/4-inch drill bit.
Step 2
Set the planter box in the final location where it will reside, making sure the area receives at least five hours of sunlight per day. Place the planter box on top of bricks or small wood blocks to prevent it from sitting flat on the ground.
Step 3
Fill a large bucket with equal parts of potting mix, sand, loam garden soil and peat moss to create a healthy soil for the plants. Mix the ingredients well and then pour the mixture into the planter box until it is 3/4 full.
Step 4
Plant the desired plants in the soil using the planting depth and spacing requirements specified on the individual plant labels.
Step 5
Water the soil until it drains out of the bottom of the box. After planting, water when the top of the soil feels dry. Since planter boxes dry out faster than the ground, they typically require daily watering. At the peak of summer they may require watering twice per day.
Step 6
Apply a liquid plant fertilizer to the planter box every two weeks using the amount listed on the bottle.
