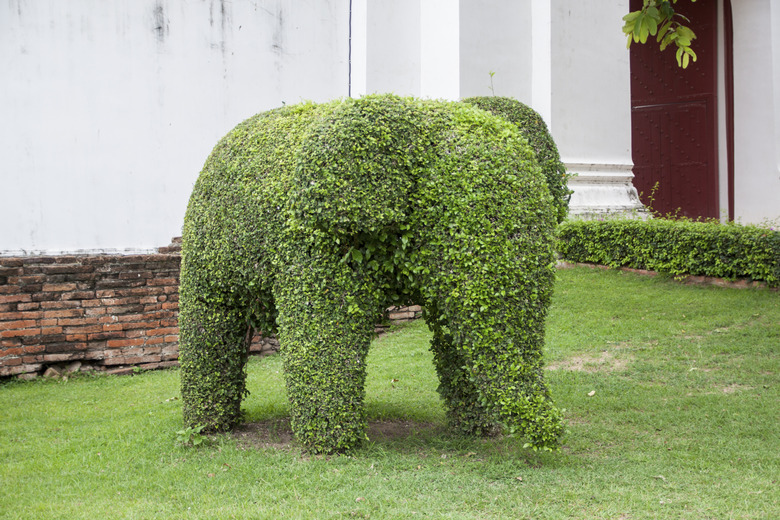
How To Make A Topiary Frame
A simple topiary frame trains vines into various shapes. Frame-style topiary is used mainly for potted plants, whether grown indoors or outdoors. When planning your topiary, keep in mind that the larger the frame, the longer it can take for the vines to cover it completely. Large frames also require larger pots to anchor the weight of the top-heavy topiary.
Wire Basics
Galvanized wire or a wire that doesn't rust works well in the moist environment of a topiary. Choose wire that bends smoothly but is strong enough to hold its shape under the weight of a growing plant. Thinner galvanized or copper wire for holding the frame together is also necessary. If the finished shape requires more support, you can also weave the thinner wires across the frame and later train the plants across this woven framework to fill in the shape. Two-dimensional frames are best suited to smaller shapes and pots, while three-dimensional topiaries in large pots offer more support for large or heavy designs.
Simple Frames
A simple two-dimensional frame requires heavy wire about the same thickness as a coat hanger. Bend the wire into the desired shape using pliers, beginning 6 to 10 inches in from one end of the wire. This extra length will become the stake for the topiary frame. Wear gloves to protect your hands from the sharp wire ends. Simple shapes with curves are better suited for beginners, such as circles, hearts or ovals. Although a square or diamond shape is also simple, the sharp angles won't be visible once the plant covers the frame. After completing the shape, bend the excess wire at a right angle to the shape to create a stake, and then wrap several inches of wire at the other end around the stake to close off the shape. Trim off any remaining wire with wire cutters.
Life in 3-D
Instead of a single wire, use chicken wire to shape a three-dimensional frame. Although you can mold the wire into shapes manually, wrapping the wire around an object gives it a more uniform shape. For example, create an orb by wrapping a beach ball with the chicken wire, or wrap wire around a florist cone to create a cone shape, and then remove the object and wire the opening in the chicken wire frame shut. Practice shaping the wire by first creating simple shapes, such as spheres. You can make several simple shapes, including spheres, cones and cylinders, and then wire them together to make a more complicated shape; the most elaborate topiary creations are often just combinations of simple shapes. After shaping the wire as desired, insert a metal or wooden stake into the frame and wire it firmly in place. After completing the basic frame, stuff it with sphagnum moss so it holds its shape. The moss also provides the planting medium. Wrap monofilament nylon twine around the stuffed frame to hold the stuffing in place, and then anchor the topiary frame in the pot.
Putting It All Together
A heavy clay pot with a bottom drainage hole can support the top-heavy weight of the topiary without falling over. Mix equal parts sand and potting soil and fill the pot halfway. The sand allows for drainage while adding more weight to keep the pot from tipping. After inserting the stake for the topiary frame, finish filling the pot and pack the soil around the frame stand to anchor it firmly in place. When planting, select quick-growing vines such as ivy (Hedera helix), which grows in U.S. Department of Agriculture plant hardiness zones 4 through 9 and has invasive tendencies in some locations, or creeping fig (Ficus pumila), hardy in USDA zones 9 through 11.
