The Life Cycle Of Pinto Bean Plants
Gardeners growing pinto bean plants in their garden will get to observe their entire life cycle in a single season, because they germinate, grow and reach harvestable size in just a couple of months.
Understanding the life cycle of the pinto bean plant (Phaseolus vulgaris; USDA hardiness zones 2 to 11) is the first step toward growing pinto beans at home. The most important thing to know about the pinto bean life cycle is that it is annual, meaning it completes its entire life cycle in one growing season.
The three main phases of a pinto bean plant's life cycle are the seedling phase, the growing phase and the harvest phase. As an annual plant, pinto bean plants must be started from seed each year, so you will get a chance to watch their entire life cycle play out in your garden in one season.
Pinto Beans: The Seedling Phase
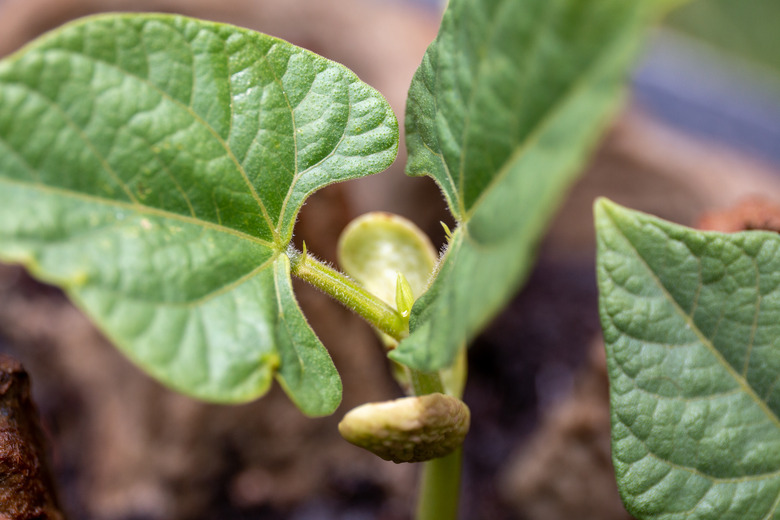
The first phase of the pinto bean plant life cycle is the seedling phase, which begins when the seeds germinate. The seed forms an embryonic seedling called a cotyledon, which is the first green sprout you see. It does not yet have mature leaves, just a small green leaf structure that provides energy for the growing plant.
Sowing Pinto Bean Seeds
Pinto beans are picky about their growing conditions. The seeds must be sown directly outdoors after all danger of frost has passed and the soil has warmed to 60°F; sowing pinto bean seeds in cold soil will cause the seeds to rot before they sprout. Black plastic sheeting can be spread over the growing site for a week or two to raise soil temperatures prior to sowing.
- Choose a planting site with six to eight hours of full sun each day and fast-draining soil.
- Amend the top 8 inches of soil with a 1-inch-thick layer of well-rotted manure compost, if a soil test indicates that there are no nutrient deficiencies in the soil.
- Prepare the bed at least two weeks before sowing the pinto bean seeds.
Sow the pinto bean seeds at a depth of 1 inch, spaced 2 inches apart. In drier soil, the sowing or planting depth should be a little bit deeper at a depth of 1 1/2 inches. Space the rows of beans 18 to 36 inches apart.
Provide 1 inch of water each week so that the soil stays moist but not soggy. Pinto bean seed germination takes 8 to 10 days when soil temperatures stay between 70 and 80°F, but it can take longer in cool, damp soil.
Warning
To prevent the spread of fungal diseases, avoid planting beans in beds where beans have been grown in the previous three years.
Pinto Beans: The Growing Phase
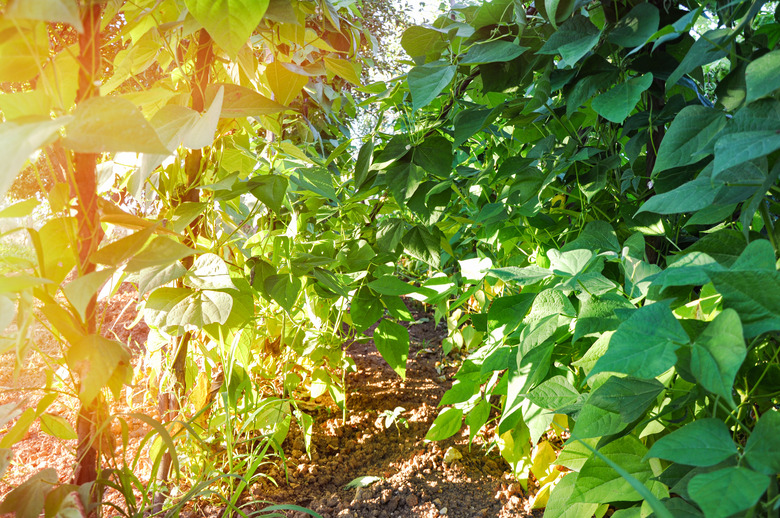
Once the pinto bean seeds have sprouted, the plant enters the growing phase. Pinto bean growth hastens and they quickly morph from cotyledons into true seedlings when they produce a mature pair of leaves. Pinto bean plants grow vigorously and will reach their mature size in just a few weeks.
Most commonly grown pinto bean varieties are bush bean varieties that **grow to around 8 to 20 inches in height.** Bush pinto beans are self-supporting and do not need a trellis or a teepee, unlike pole beans.
Pinto beans require very little hands-on care, apart from regular watering and weeding:
- Provide 2 inches of water per square foot each week during the growing season. Wait until the soil dries before watering.
- Spread a 3-inch-thick layer of straw around the plants as mulch to hold in soil moisture.
- Pull up weeds that pop up around the bean plants by hand rather than by hoeing, which can hurt the pinto bean's roots.
Too much nitrogen fertilizer can cause problems in legumes such as pinto bean plants, so **do not add fertilizer to the soil during the growing season.**
Pinto Beans: The Harvest Phase
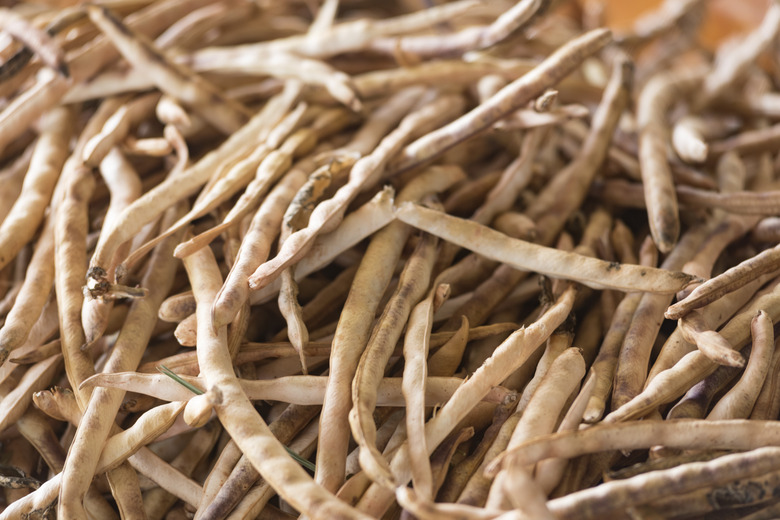
After the growing phase, pinto bean plants reach maturity and produce a crop of beans. The pods start out green but, because pinto beans are dry beans, it is not time to harvest the pods until they dry out.
Depending on the types of beans being grown, the time from when you plant seeds to when you harvest pinto beans is roughly 95 days.
- Harvest pinto beans once the pods dry out and take on a pale brownish color. Dry pods should rattle when shaken.
- Snap off the bean pods and toss them into a bucket or basket.
- Snap open the pods and drop the bean seeds into a bowl.
- Pick through the beans and throw away those with signs of damage such as shriveling, cracks and dark spots.
Pinto beans are prepared in a variety of different ways and are particularly popular for Mexican dishes such as refried beans. The dry beans are typically soaked before they are cooked, but the **beans should not be soaked before sowing because it can cause them to rot in the soil.**
Tip
Dried pinto bean seeds will last for up to five years, if they are stored under cool, dry conditions.
**Storing Your Beans:** Saving pinto bean seeds from open-pollinated heirloom varieties will allow you to plant your pinto bean crop year after year.
**Rotating Your Crops:** One concern when growing pinto beans at home is that most home gardens lack the space to rotate crops each year. Bean plants are susceptible to soil-borne disease so you must rotate beans between beds each year. A bed where beans have been grown should not be used to grow beans again for three years.


