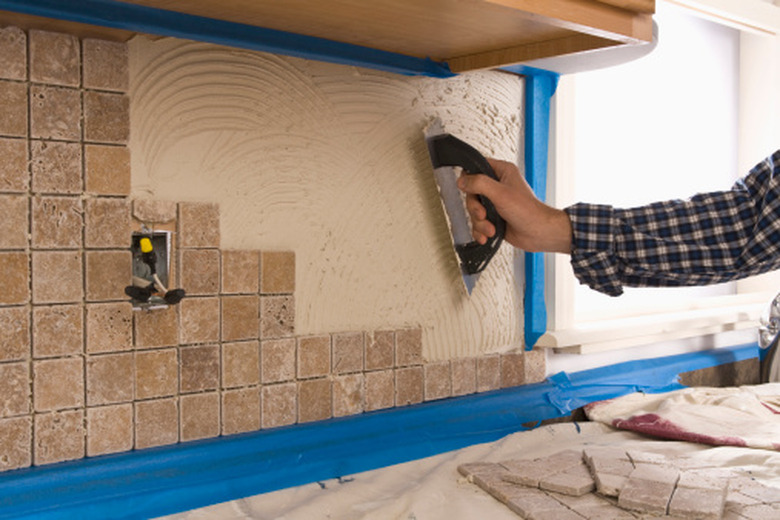
How To Install USG Fiberock
USG Fiberock is a fiber-reinforced gypsum backer board with a flat, level surface and used for the installation of tiling. It is extremely strong and resilient, good for moist conditions where typical drywall would be a poor choice.
USG Fiberock is a fiber-reinforced gypsum backer board with a flat, level surface and used for the installation of tiling. It is extremely strong and resilient, good for moist conditions where typical drywall would be a poor choice. In addition, USG Fiberock is lighter and easier to cut than traditional fiber-reinforced concrete boards.
Step 1
Measure the area where the USG Fiberock board is to be installed. If a cut is necessary for the board to fit, mark the measurement on to the Fiberock board with a pencil.
Step 2
Cut the board, if necessary, to the size needed for your installation using a jig saw fitted with a rough cut blade. It is best to use the largest possible piece of fiberboard to eliminate edges and other imperfections in the installation.
- USG Fiberock is a fiber-reinforced gypsum backer board with a flat, level surface and used for the installation of tiling.
- In addition, USG Fiberock is lighter and easier to cut than traditional fiber-reinforced concrete boards.
Step 3
Position the Fiberock into place where it is to be installed, checking that it fits snugly against any neighboring pieces, but does not overlap them. When positioning the Fiberock, make a note on the board where the wall studs are located. If you are installing the Fiberock as a flooring substrate, it can be screwed directly into the wood underlayment.
Step 4
Secure the Fiberock to the wall or floor using wood screws and an electric drill. Keep the screws aligned with the wall studs to hold the Fiberock in place firmly. Drive the screws only as deep as necessary to make the screw head flush with the surface of the fiberock.
Install A Usg Suspended Ceiling
Examine the ceiling to find the lowest pipe, duct or conduit. Measure three-quarters of an inch up toward the ceiling from the mark you made in Step 1. Snap a chalk line at this location to indicate the height of your ceiling. Continue this chalk line all the way around the room. Place USG wall angle brackets along the chalk line. Screw the brackets into place every 2 inches using a drill and drywall screws. Click the end of each main into the wall bracket, then support the main every 4 feet using hanger wire. If you are using 2-by-2 tiles, install tees every 2 feet. Use a utility knife and straight edge to cut tiles to fit as needed.
- Position the Fiberock into place where it is to be installed, checking that it fits snugly against any neighboring pieces, but does not overlap them.
- Click the end of each main into the wall bracket, then support the main every 4 feet using hanger wire.
Things Needed
- Measuring tape
- Jig Saw
- Electric Drill
Warning
Fiberock board creates gypsum dust when it is cut. Wear eye and respiratory protection when working with this material.
References
- USG: Aqua-tough Underlayment Panels
- "Stanley Complete Tiling"; Ken Sidey; 2004
- "Tiling: Expert Advice to Get the Job Done Right (Sunset Guide)"; Editors of Sunset Books; 2009
- Popular Mechanics: How to Intall a Suspended Ceiling
- USG: Installation Guide—Suspended Ceiling
