How Do I Root Aborvitae Cuttings
Things Needed
- Sharp blade
- Propagation tray
- Peat moss
- Coarse sand
- Perlite
- Rooting hormone
- Water misting bottle
- Clear plastic
- 4-inch growing containers
- Bleach
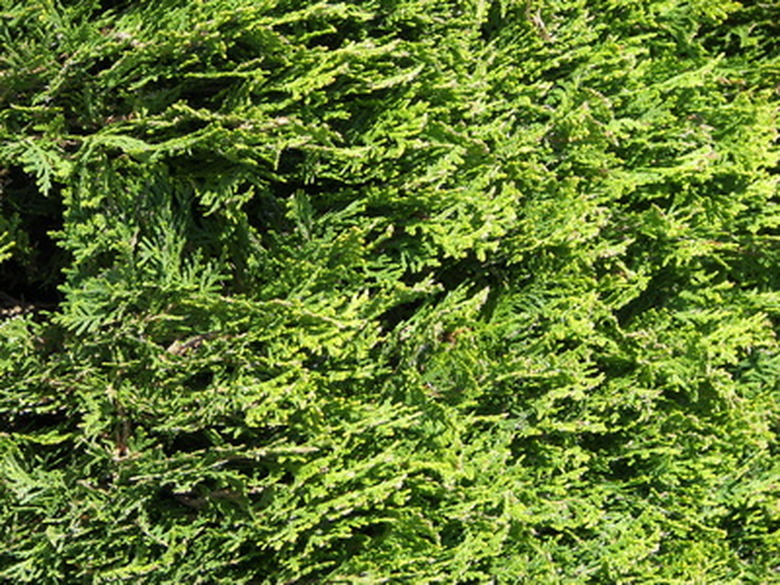
The evergreen Arborvitae is a tree or large shrub that reaches a height up to 50 feet when allowed to grow. It produces a flat leaf with a scaly texture. Plant the Arborvitae in USDA hardiness zones 4 through 9 in soil that is well-draining and nutrient-rich for best results. Choose a partially shaded area to prevent sunscald on the foliage. Propagate a three-year-old or older Arborvitae by taking semi-hardwood stem cuttings starting in midsummer through early fall.
Step 1
Cut 6-to 8-inch semi-hardwood cuttings from the Arborvitae tree using a sharp blade. Semi-hardwood stems are new growth that is beginning to turn woody and mature.
- The evergreen Arborvitae is a tree or large shrub that reaches a height up to 50 feet when allowed to grow.
- Cut 6-to 8-inch semi-hardwood cuttings from the Arborvitae tree using a sharp blade.
Step 2
Fill a clean propagation tray with a mixture made from equal quantities of coarse sand, peat moss and perlite. Moisten the mixture with water until it has the consistency of a damp sponge.
Step 3
Remove the foliage from the lower half of the Arborvitae cutting, and dip the bottom cut end into rooting hormone. Tap the stem to remove excess hormone, and stick the end into the rooting tray to a depth of one-third the length of the stem. Space the stems so they do not touch.
Step 4
Mist the Arborvitae cuttings with air-temperature water, and cover the tray with clear plastic. Place the propagation tray in an area that receives indirect sunlight, with a temperature of approximately 70 degrees F.
- Fill a clean propagation tray with a mixture made from equal quantities of coarse sand, peat moss and perlite.
- Tap the stem to remove excess hormone, and stick the end into the rooting tray to a depth of one-third the length of the stem.
Step 5
Monitor the cuttings by opening the plastic cover each day. Mist the cuttings with water to keep a humid environment around the cuttings during the root development process.
Step 6
Pull on the Arborvitae cuttings 5 to 6 weeks after planting them in the propagation tray. If they resist when you pull them, it means that roots are present. Move the soil around the stems to verify the length of the roots.
Step 7
Transplant Arborvitae cuttings into 4-inch growing containers once the roots reach a length of 1 inch or longer. Continue to grow the stems indoors for at least one year to increase root development before transplanting outdoors.
- Monitor the cuttings by opening the plastic cover each day.
- Pull on the Arborvitae cuttings 5 to 6 weeks after planting them in the propagation tray.
Tip
Clean the propagation tools and growing containers with a solution of 9 parts water and 1 part bleach. Rinse the equipment well and let dry before using.
