How To Propagate Oleander From Cuttings
Things Needed
- Garden shears
- Glass vessel (8 to 10 oz.)
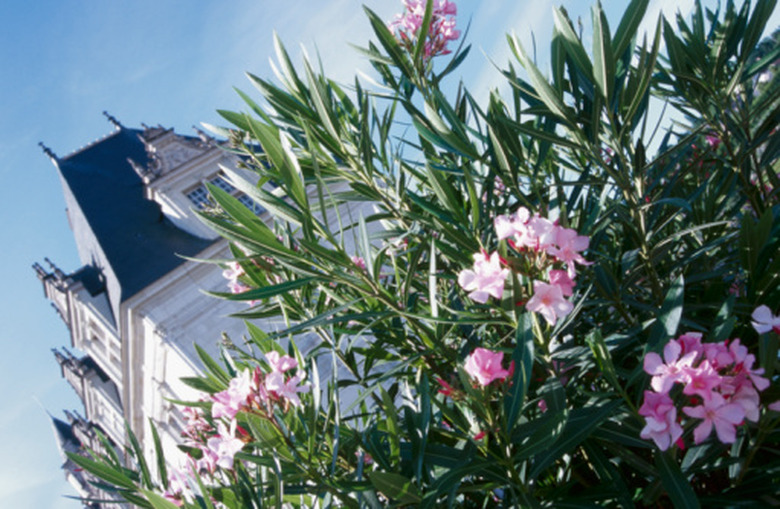
Oleander (Nerium oleander) is a plant that proffers showy blooms and resists drought. It originated in the Middle East and is referred to in biblical passages as "desert rose." With pruning, each branch can triple its bloom production. Over time, a regularly pruned oleander bush can be literally awash in flowers. No wonder, then, that some gardeners would like to propagate the charming plant.
Step 1
Trim a 5- to 8-inch piece from the plant. Feel free to take a cutting from the top of the plant or from the lower sections of the branches. Be sure the piece has at least two sets of leaf nodes. Leaf nodes are the points on the branch from which leaves grow.
- Oleander (Nerium oleander) is a plant that proffers showy blooms and resists drought.
- Feel free to take a cutting from the top of the plant or from the lower sections of the branches.
Step 2
Trim the leaves. Take off the lower leaves, leaving only the leaf growth at the very top of the cutting. Trim those top leaves down to a length of 1 inch. This will help reduce moisture loss.
Step 3
Fill your glass with water. You will want to put in 2 to 3 inches of water.
Step 4
Put the cutting in the water.
- Take off the lower leaves, leaving only the leaf growth at the very top of the cutting.
- You will want to put in 2 to 3 inches of water.
Step 5
Change the water every two days. Allowing water to stagnate can encourage the development of harmful bacterial, so switch out the water every 48 hours.
Step 6
Watch for root sprouts. After several weeks, you should see roots begin to develop. Look for the roots to reach a length of an inch or two.
Step 7
Fill a plant pot with soil. Use a 6-inch pot, and choose a soil that drains well. Most potting mixes will be suitable. You can also try a mixture of eight parts potting mix, one part sand and one part perlite, as suggested by James Nicholas, writing for the International Oleander Society website. You can find perlite at most nurseries and gardening retailers.
- Change the water every two days.
- Use a 6-inch pot, and choose a soil that drains well.
Step 8
Plant the rooted cutting in soil. Make a hole in the planting soil that is large enough for the newly sprouted roots. Place the cutting in the hole and cover the roots with soil.
Step 9
Water the transplant. A thorough watering will encourage nutrient transfer to the roots from the soil.
Step 10
Put the pot in a sunny location. Choose a spot that gets full sun for a minimum of four hours each day. More sun is better.
- Plant the rooted cutting in soil.
- Make a hole in the planting soil that is large enough for the newly sprouted roots.
Step 11
Watch the soil moisture level. Be sure to keep the soil moist, but not soaking wet. Waterlogged soil encourages root rot. When the weather is hot, your oleander will need more water.
Step 12
Watch the oleander develop. In a couple of weeks, you should see some growth in your new transplant. According to the International Oleander Society, after a year, your plant should be large enough to transplant to a gallon-size container.
- Watch the soil moisture level.
- When the weather is hot, your oleander will need more water.
Tip
Adding a willow twig to the water with your cutting can stimulate development, according to the International Oleander Society.