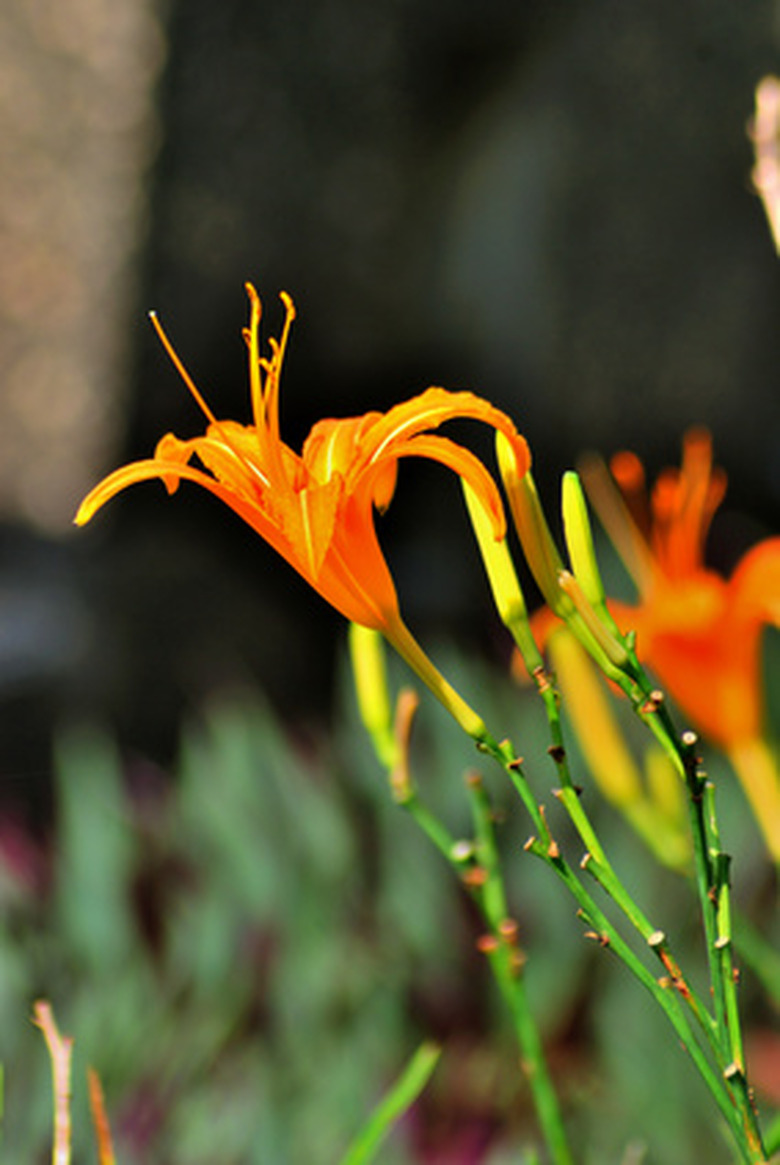
How To Replace Daylilies With Another Perennial
Many gardeners include a sizable clump of large and festive daylilies in a sunny landscape. With minimal maintenance, daylilies will thrive in a sunny spot, often spreading out to fill the area attractively. Whether you become tired of your daylilies or they grow too large for the area, you can replace daylilies with another perennial when you want a change. Select a new perennial with similar growing needs to ensure the new plant will thrive in the landscape. Perform the switch in the spring or in the fall, when the daylilies are not actively growing.
Things Needed
- Shovel
- Tarp
- Garden spade
- Compost
- Rake
Many gardeners include a sizable clump of large and festive daylilies in a sunny landscape. With minimal maintenance, daylilies will thrive in a sunny spot, often spreading out to fill the area attractively. Whether you become tired of your daylilies or they grow too large for the area, you can replace daylilies with another perennial when you want a change. Select a new perennial with similar growing needs to ensure the new plant will thrive in the landscape. Perform the switch in the spring or in the fall, when the daylilies are not actively growing.
Step 1
Select the perennial plants you will place in the daylily growing location. Some perennials that grow well in sunny locations with similar growing needs and attributes to daylilies include heliopsis, black-eyed Susans, coneflowers and bee balm.
- Many gardeners include a sizable clump of large and festive daylilies in a sunny landscape.
- With minimal maintenance, daylilies will thrive in a sunny spot, often spreading out to fill the area attractively.
Step 2
Spread the tarp near the spot where the daylilies grow to hold the plants after you remove them from the soil.
Step 3
Insert the tip of the shovel into the soil approximately 6 inches away from the outside perimeter of the daylilies. Push the shovel blade down into the soil completely and then pull it back up again. Reposition the shovel again the same distance away from the daylilies and push it into the soil. Continue digging a perimeter around the daylily clump to loosen it from the soil.
Step 4
Angle the shovel blade beneath the daylily roots after you loosen the plant from the soil and lift the clump from the soil carefully. Transfer the daylily clump to the tarp and move the tarp aside.
- Spread the tarp near the spot where the daylilies grow to hold the plants after you remove them from the soil.
- Angle the shovel blade beneath the daylily roots after you loosen the plant from the soil and lift the clump from the soil carefully.
Step 5
Cultivate the area where the daylilies were growing with the garden spade to loosen the soil thoroughly. Add 2 inches of compost to the top of the soil and work it in with the garden spade thoroughly. Smooth the soil surface with the rake.
Step 6
Dig holes for the new plants, consulting specific planting instructions for hole size, depth and spacing. Place the new perennial plants into the prepared holes and fill the holes with soil to cover the roots. Tamp the soil down firmly with your hands to finish planting the perennials.
Step 7
Provide water for the new plants immediately after you finish planting them. Keep the new plants watered regularly while they acclimate to their new growing location.
- Cultivate the area where the daylilies were growing with the garden spade to loosen the soil thoroughly.
- Tamp the soil down firmly with your hands to finish planting the perennials.
Tip
Transplant the daylilies to a new growing location or give them away to someone who wants them. When you move daylilies in the autumn, cut back the foliage to approximately 6 inches above the soil level to make it easier to handle the plants. This won’t be necessary in the spring.
References
- "The Daylily: A Guide for Gardeners"; John P. Peat, Ted L. Petit; 2004
- University of Kentucky: Perennials for Sunny Locations
