Easy DIY Dried Fruit Decorations
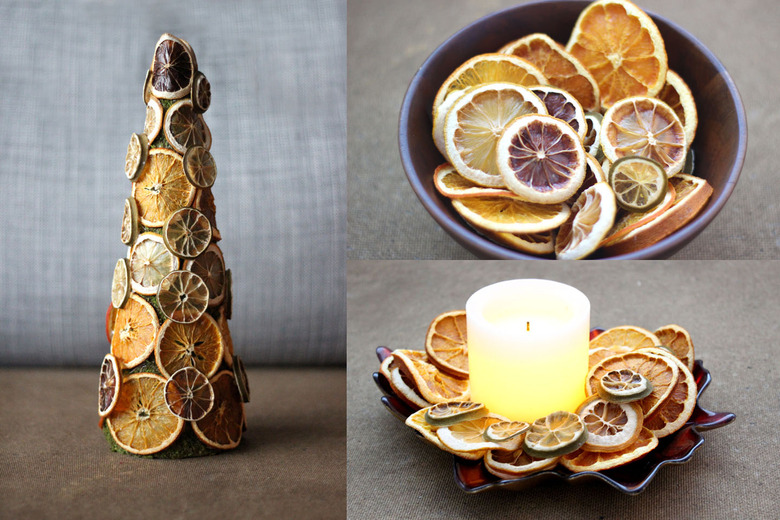
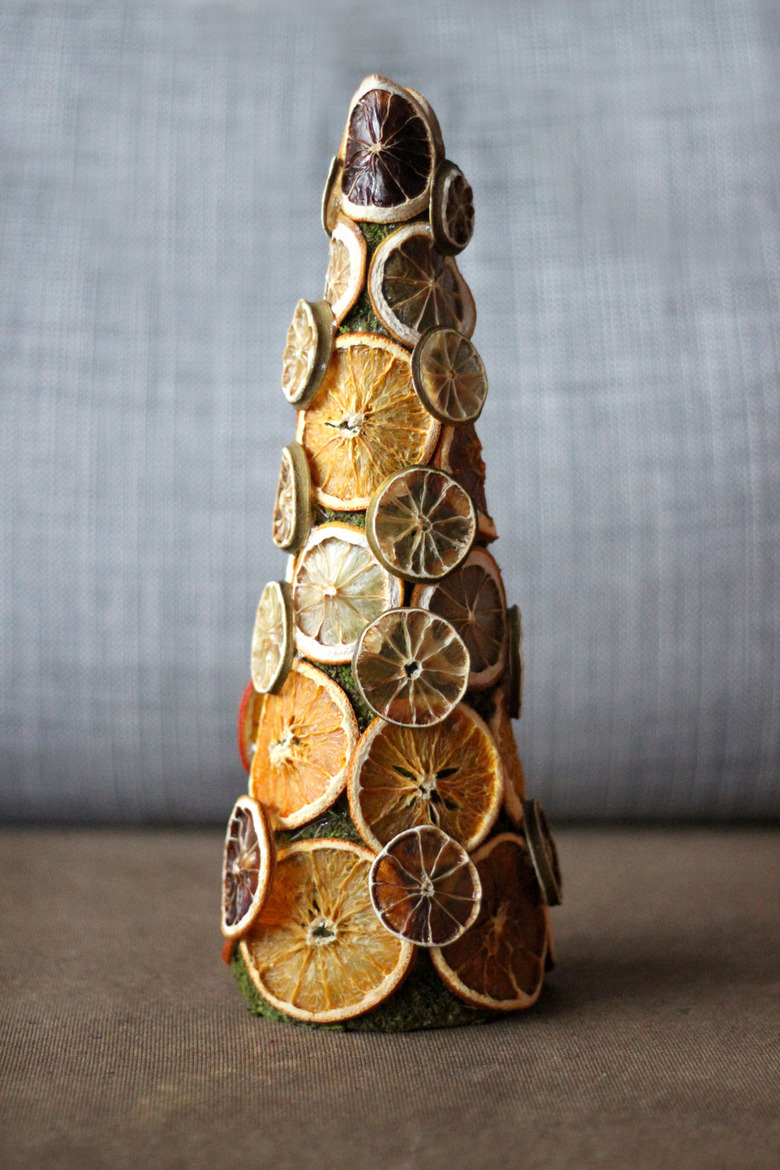
Dried fruit makes a wonderfully versatile decoration. It can be displayed in myriad ways, and its earthy tones make it especially lovely for fall and winter decor. It's also a very economical way to add natural botanical beauty to any room in your home. This tutorial shows you how to make a cone-shaped "tree," but the dried fruit makes a design statement even when simply displayed alone in a bowl.
Things Needed
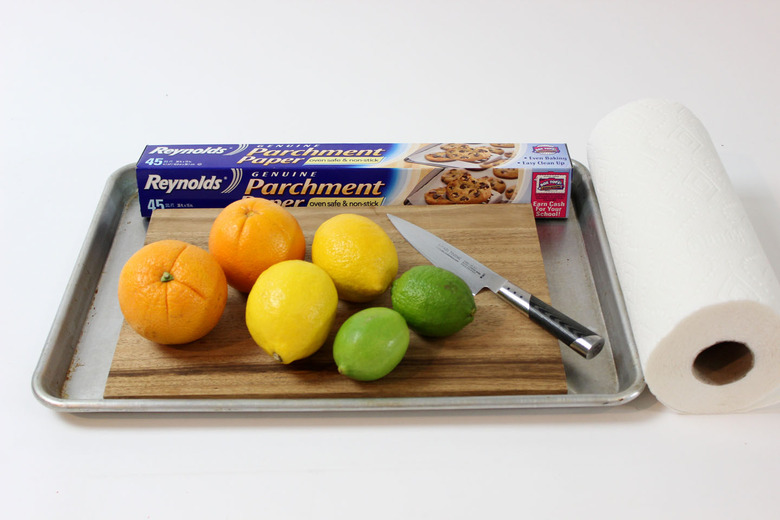
- Oranges, lemons and limes
- Cutting board
- Knife
- Paper towels
- Parchment paper
- Cookie sheet
- Styrofoam cone
- Sheet moss
- Hot glue gun
- Scissors
1. Slice the Fruit
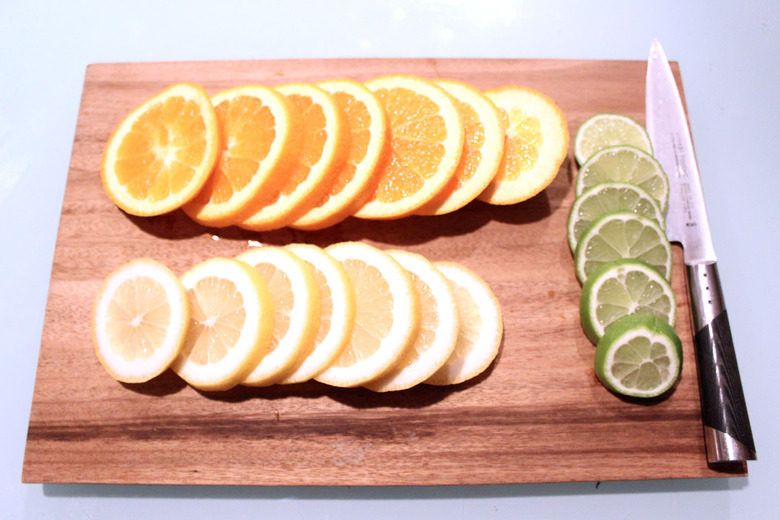
The best fruits to dry for decorations are oranges, lemons and limes. They dry completely without any stickiness, and they maintain their shape even when they dehydrate, unlike apples. Slice the fruit on a cutting board with a sharp knife, making the slices between one eighth to one quarter inch thick. The thinner the slices, the faster they will dry.
- Dried fruit makes a wonderfully versatile decoration.
- This tutorial shows you how to make a cone-shaped "tree," but the dried fruit makes a design statement even when simply displayed alone in a bowl.
2. Pat Dry the Fruit
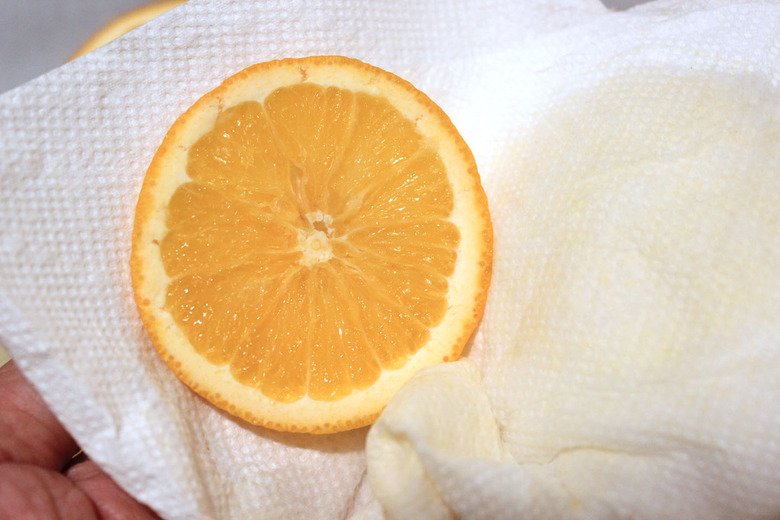
Pat the fruit slices dry with paper towels. Removing as much moisture as possible before putting the fruit in the oven will help reduce drying time.
3. Dry in the Oven
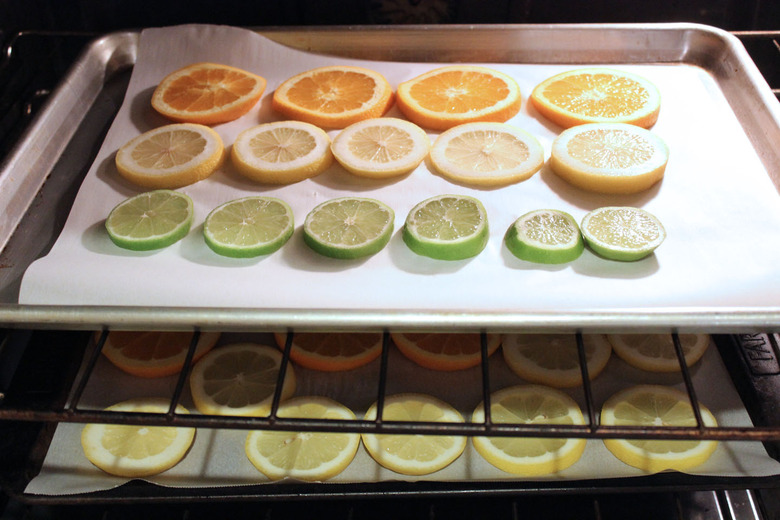
Heat the oven to 200 degrees Fahrenheit. Position the fruit slices in a single layer on a parchment paper-lined cookie sheet, and place the cookie sheet in the oven. After heating the fruit for one hour, flip the slices and heat for another hour. Continue flipping the fruit every hour until completely dry. Depending on the thickness of the slices, it will take between two to eight hours. Be sure to check that the fruit does not burn and discolor.
- Pat the fruit slices dry with paper towels.
- Removing as much moisture as possible before putting the fruit in the oven will help reduce drying time.
4. Wrap Cone in Moss
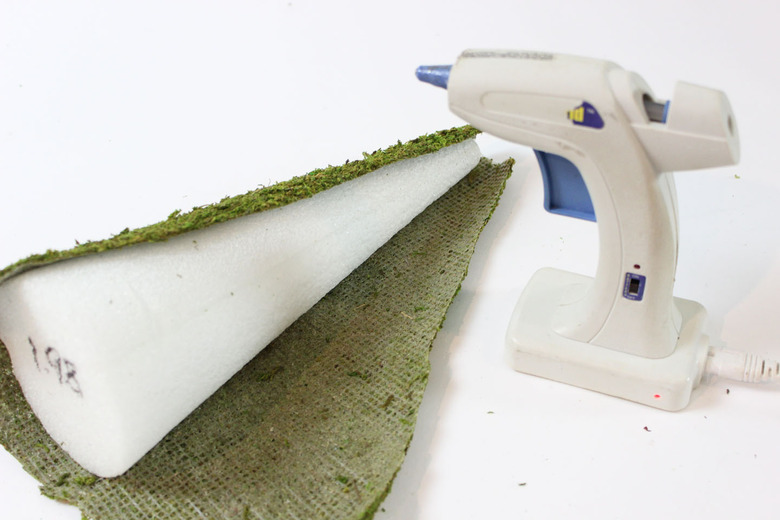
Cover a 12-inch foam cone in moss using a hot glue gun. Sheet moss, which you can find in crafts stores, works well because it is in large pieces. Moss sheeting with a mesh backing is even easier to use because it comes in uniform rectangular pieces or rolls, but it is more difficult to find in stores.
5. Trim Excess Moss
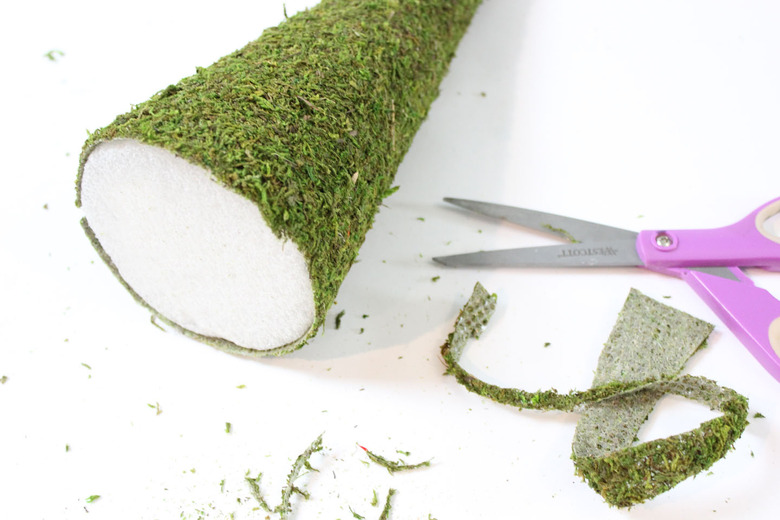
Cut off any excess moss at the bottom of the cone with scissors so that the cone sits upright.
6. Glue on Dried Fruit
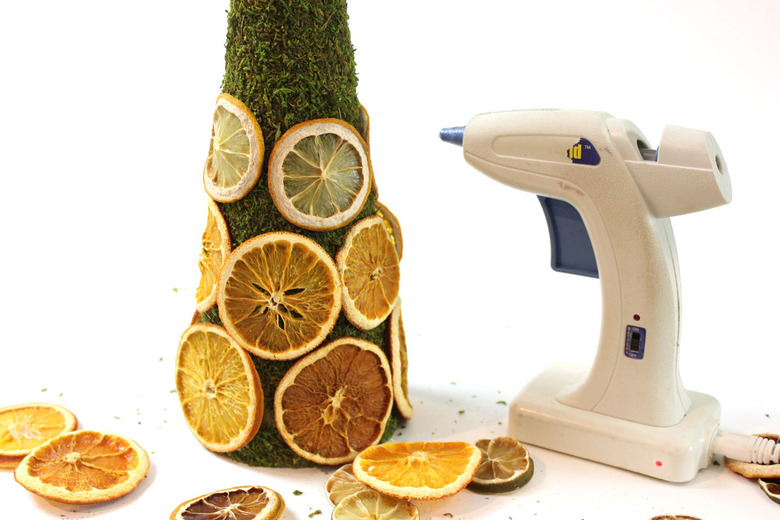
Using a hot glue gun, attach the dried fruit around the moss-covered cone. Work from the bottom up, gluing one row of fruit slices at a time. Position the larger slices at the bottom, and the smaller slices at the top. Overlap smaller lime pieces on top of the larger ones to fill in spaces.
- Cover a 12-inch foam cone in moss using a hot glue gun.
- Cut off any excess moss at the bottom of the cone with scissors so that the cone sits upright.
While the tree shape of this dried fruit arrangement is perfect for fall and winter, the bright shades of orange and green also make it appropriate beyond the holiday season.
Simpler Ways to Display Dried Fruit
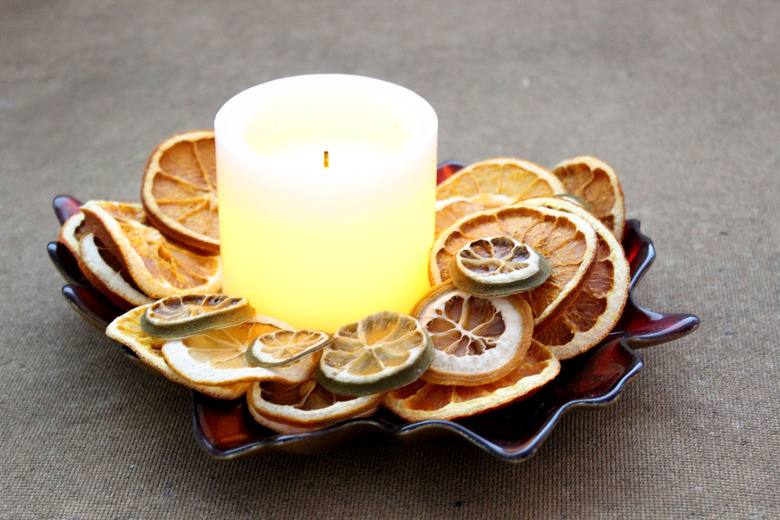
Place the dried fruit in a decorative bowl, and it makes a simple but colorful botanical display. If you wish, add cinnamon sticks or a few drops of essential oils so the dried fruit smells as beautiful as it looks.
You can also place the dried fruit in a dish around a candle. The warm glow of the candle accentuates the gorgeous color and texture of the fruit.
