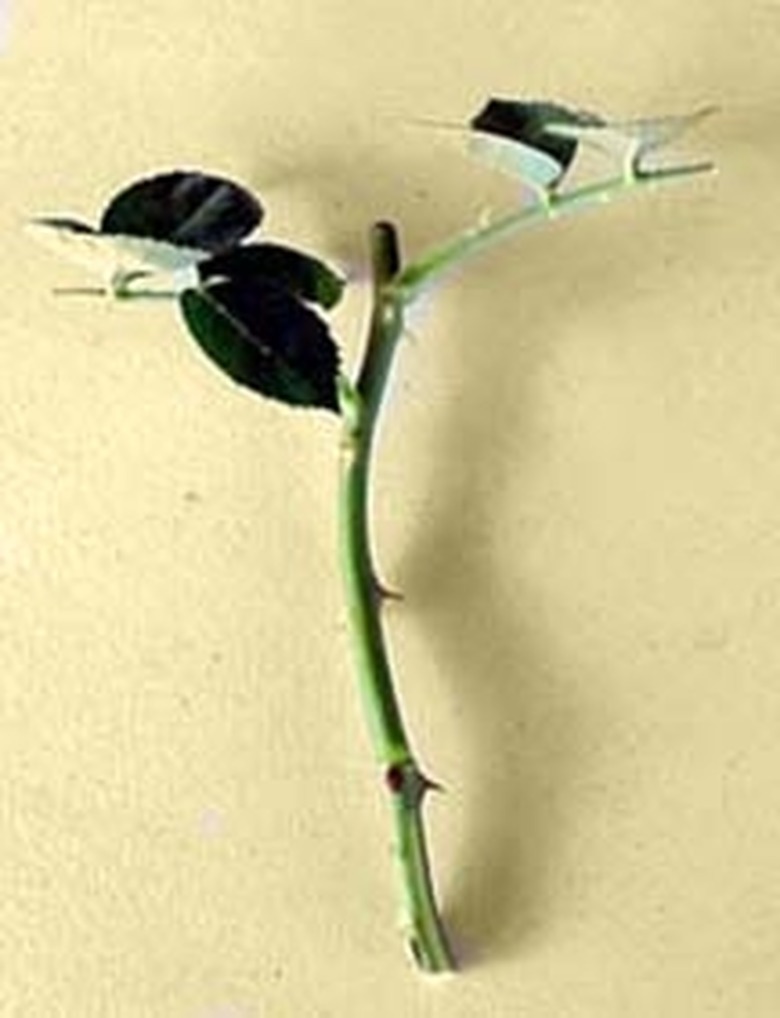
How To Take Rose Cuttings
Things Needed
- Rose plants
- Large zip-type plastic bags
- Sterilized potting soil
- Perlite
- Rooting compound
- Distilled water
- Nippers
Propagating roses from cuttings.html).html).html) is one of the most popular and successful ways to grow new roses that are identical to the original plant. In nurseries, cuttings by the thousands get their start in airtight cases where they receive indirect light while being protected from airborne fungus and bacteria. You can create your own small version of a rose-cutting case at home by using sterile planting medium and plastic bags.
Step 1
Take rose cuttings early in the spring before the rose blooms but after it leafs out, or in the late fall after the blooming season is over.
Step 2
Mix up the potting medium. It’s imperative that you choose sterilized potting soil for cuttings. Any trace of bacteria will grow inside your bags and the tender new cuttings will die. Use 2 cups of Perlite for every 4 cups of sterile potting soil.
- Propagating roses from cuttings is one of the most popular and successful ways to grow new roses that are identical to the original plant.
- Any trace of bacteria will grow inside your bags and the tender new cuttings will die.
Step 3
Scoop approximately 6 cups of prepared potting medium into each plastic bag, allowing the medium to spread out at the bottom of the bag. Add 1 cup of distilled water to each bag. While you can use tap water, there is a chance your cuttings will die if bacteria is present.
Step 4
Carry your plastic bag and the rooting compound with you to the garden when you take the cuttings. Your cuttings have a better chance of success if they go directly from the rose bush to the potting medium.
Step 5
Cut the rose stem just below a node. Avoid using a thin rose stem that has not yet bloomed. These stems, known as “green” cuttings are prone to wilt and die. Select a medium-size stem with at least one spent rose hip at the top.
- Scoop approximately 6 cups of prepared potting medium into each plastic bag, allowing the medium to spread out at the bottom of the bag.
Step 6
Use sharp nippers to remove the stem from the plant. Your cutting should be at least 4-inches long but no longer than 12-inches. Remove all the leaves and side stems, leaving only two leaf sets at the top of the cutting. In addition, nip the stem above the top leaf set.
Step 7
Scrape the bottom 1-inch of the stem to remove the outer coating on one side and dip the stem in rooting compound.This is called "wounding" the stem.
Step 8
Place the stem in the bottom of your plastic bag immediately. Repeat with additional cuttings and seal the bag, making sure there is plenty of air inside. If you like, seal all but one tiny corner of the bag and blow into it–creating a puffed up bag. Since plants breath in the air you breathe out, this creates a good environment for them.
- Use sharp nippers to remove the stem from the plant.
- Remove all the leaves and side stems, leaving only two leaf sets at the top of the cutting.
Step 9
Place your plastic bags in a spot where they will receive only indirect light, such as a north window or on a table on a covered porch. If direct sun hits the bag, the temperature inside will become too hot.
Step 10
Open the top of the bag after 2 weeks to let it breathe and then seal it again. Do this once every week. By 6 weeks, the cuttings will start to root and you may transplant them into their own separate containers.
