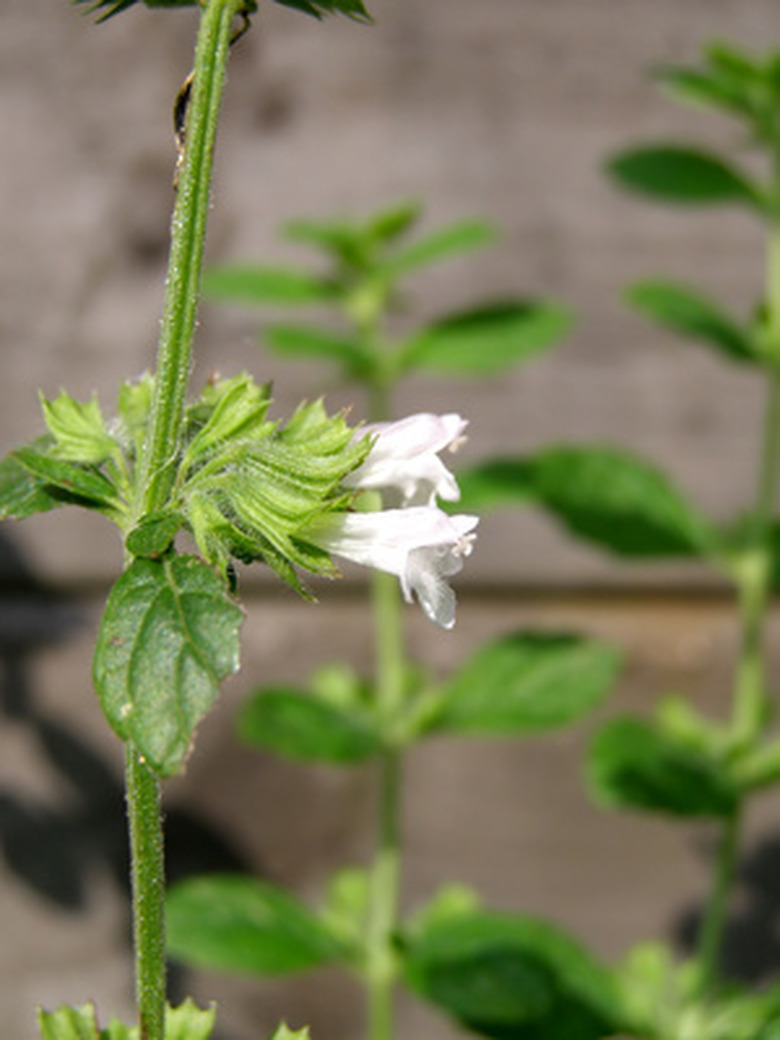
How To Propagate Bee Balm
Things Needed
- Pruning shears
- Small planting container (4-inch diameter)
- Potting soil
- Spray bottle (filled with water)
- 8-inch small stake (optional)
- Plastic bag (gallon size)
- Rubber band
- Larger planting container (6 to 8 inches in diameter) (optional)
Bee balm is a delightful ornamental herb that grows energetically in a sunny herb garden with distinctive blossoms in a variety of colors. Wander past a clump of bee balm and you might detect a faint scent of mint in the air as well. Use a healthy bee balm plant for propagating new bee balm plants with stem cuttings. In a short time, you can propagate bee balm plants to add more beauty to your growing areas.
Step 1
Select a softwood stem from a healthy bee balm plant in mid-summer. Find a softwood stem by bending a stem between your hands. Choose a stem that snaps when you bend it. A stem that does not break or will not bend will not root properly. Cut the stem approximately 6 inches long with the pruning shears.
- Bee balm is a delightful ornamental herb that grows energetically in a sunny herb garden with distinctive blossoms in a variety of colors.
- Use a healthy bee balm plant for propagating new bee balm plants with stem cuttings.
Step 2
Fill the planting container to the top with potting soil. Spray the potting soil surface with water from the water bottle to moisten it completely.
Step 3
Remove all but two sets of leaves from the top of the stem and any blossoms, if necessary. Cut the bottom of the stem so it ends approximately 1 inch under a leaf node with the stem approximately 4 to 5 inches long.
Step 4
Insert the stem into the center of the container, pushing it 1 to 2 inches beneath the soil.
Step 5
Cover the container with the plastic bag. Check to see if the plastic bag contacts the cutting at all. If it does, insert a small stake into the potting soil to hold the bag off the cutting. Secure the bag to the container with a rubber band around the rim of the container.
- Fill the planting container to the top with potting soil.
- Insert the stem into the center of the container, pushing it 1 to 2 inches beneath the soil.
Step 6
Place the container in a location that receives indirect sunlight with temperatures between 60 and 70 degrees F. Remove the plastic bag from the container every day and spray the soil surface with water.
Step 7
Check for rooting after about two weeks. If you see new leaf growth at the top of the cutting, this means that roots are forming beneath the soil. Pull the plastic bag away from one side of the container to allow some fresh air into the cutting after you see new leaf growth. Continue to water the soil every day.
Step 8
Remove the plastic bag entirely after one more week. Continue to water the new bee balm plant to keep the soil evenly moist. After about two more weeks, transplant the new plant to an outside location or to a larger container.
- Place the container in a location that receives indirect sunlight with temperatures between 60 and 70 degrees F. Remove the plastic bag from the container every day and spray the soil surface with water.
- After about two more weeks, transplant the new plant to an outside location or to a larger container.
