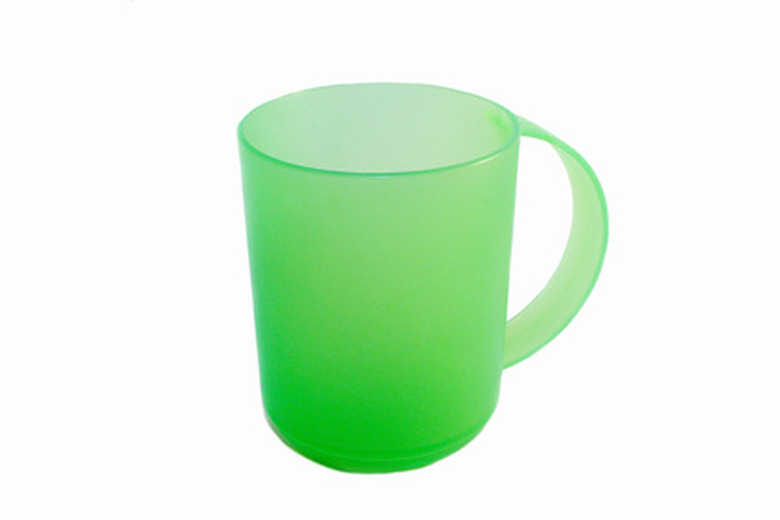
How To Plant Seeds In A Cup
Things Needed
- Pencil
- Paper or foam cup (or a cup of any material)
- Potting soil
- Watering can
- Seeds
- Saucer
You can easily plant seeds in a cup, as opposed to buying traditional starter pots. This can save you some money and is a simple way to recycle old cups you may have lying around. Seeds can germinate and grow in just about anything, so long as they get enough nutrients, warmth, light and water. Later, after the plants are growing, you can transplant them into larger containers.
Step 1
Look at the seed packet instructions. Some seeds need to be treated (soaked in water or abraded with a knife, for example) before they are planted, according to The Garden Helper.
Step 2
Use a sharpened pencil to poke three to four holes in the bottom of a paper or foam cup. These holes are for allowing water to drain out.
- You can easily plant seeds in a cup, as opposed to buying traditional starter pots.
Step 3
Fill the cup three-quarters full with potting soil. You can sometimes use soil from your yard, but potting soil is typically better–soil from your yard may contain seeds, insect larva or plant diseases.
Step 4
Wet the soil with water from a watering can (or hold the cup beneath a trickling faucet).
Step 5
Poke seeds into the soil. Different plant seeds require different spacing–check the seed packet for recommendations. Typically, you should place seeds 1/8 inch deep and should not crowd them together. You can, however, always thin the plants out when they begin to grow if there are too many.
- Fill the cup three-quarters full with potting soil.
- You can sometimes use soil from your yard, but potting soil is typically better–soil from your yard may contain seeds, insect larva or plant diseases.
Step 6
Place the cup on a saucer. The saucer will catch water draining from the cup so it doesn't run all over everything. Place the saucer in a warm, sunny area and keep the seeds moist–don't let seeds dry out too much or they may not germinate.
Tip
Use other materials for cups instead, if you choose. For plastic cups, punch holes for drainage using an auger or an electric drill. For metal or ceramic cups, forgo the drainage holes–just add some pebbles at the bottom to provide a little space so the plant roots don't stay too soggy.
