How To Propagate Winterberry
Things Needed
- Sharp knife
- Paper towel
- Peat moss
- Course sand
- Perlite
- Propagation tray
- Water
- Rooting hormone
- Water mister
- Plastic bag
- Rubber band
- 4-inch growing container
- Potting soil
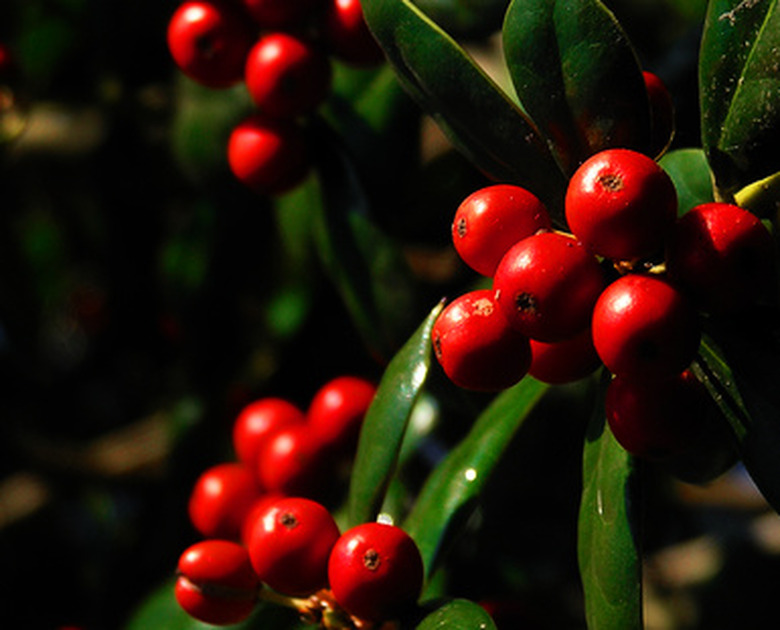
The winterberry is a deciduous holly shrub about 12 feet high. The trunk is low to the ground with many erect branches that spread to a width of 8 to 12 feet. Propagate to create more winterberry plants by taking softwood stem sections in late spring through early summer. Softwood stem sections are delicate, but produce roots quickly. Grow winterberry cuttings indoors through one winter season to increase the hardiness before transplanting outdoors.
Step 1
Cut 8-inch softwood stem sections from new growth on the winterberry shrub with a clean, sharp knife. Softwood stems on a winterberry shrub are immature sections that snap when bent in half. Place the stems in a moist piece of paper towel to prevent moisture loss.
- The winterberry is a deciduous holly shrub about 12 feet high.
- Softwood stems on a winterberry shrub are immature sections that snap when bent in half.
Step 2
Fill a stem propagation tray with a mixture of one part peat moss, one part course sand and one part perlite. Dampen the mixture with water to make it moist but not sopping.
Step 3
Cut all leaves off the bottom one-half of the winterberry stem with a sharp knife. Apply rooting hormone to the bottom cut end of the stem. Stick the stem into the propagation tray so the bottom half is covered with soil.
Step 4
Mist the winterberry stems and propagation soil with water. Cover the tray and stems with a plastic bag to make a greenhouse environment for root production. Close the bag with a rubber band or clips.
- Fill a stem propagation tray with a mixture of one part peat moss, one part course sand and one part perlite.
- Stick the stem into the propagation tray so the bottom half is covered with soil.
Step 5
Place the covered propagation tray in a warm area that receives warm, filtered light. Open the bag 1 to 2 times a day to provide air circulation and mist the cuttings with water. Monitor the moisture content in the propagation medium to prevent it from becoming saturated.
Step 6
Pull on the winterberry stems after three weeks in the propagation environment. Resistance indicates there is root growth. Verify the length of the roots by gently removing the soil.
Step 7
Transplant the winterberry stems to 4-inch containers when the roots are one-inch or longer. Fill the containers with a high-quality potting soil and plant the stems at the same depth they were growing in the propagation tray.
- Place the covered propagation tray in a warm area that receives warm, filtered light.