How To Build A Mulch Patio
Expanding your living space into the outdoors doesn't have to turn into a weeks-long deck or patio project. Mulch, available in various forms, creates a decorative and colorful patio area surface, blending seamlessly with your surrounding flowerbeds and giving your yard a Zen-like, cohesive appearance. Maintain your mulch patio by adding a fresh 1-inch layer of mulch every spring, and replacing all of the mulch every three to four years.
Step 1
Outline your patio space with landscape chalk, creating a perimeter. Measure the length and width to determine the total amount of edging necessary and the overall square footage. Write this information down.
Step 2
Cut along the perimeter with a trenching shovel. Use an electric sod cutter, available to rent from large hardware stores, to remove the existing sod inside the perimeter. If there is no sod or the dirt under the grass is very compact, use a rototiller to loosen the soil.
Step 3
Dig out the patio area 4 inches lower than the surrounding ground. Reuse the soil in another garden bed if desired.
Step 4
- Outline your patio space with landscape chalk, creating a perimeter.
- Use an electric sod cutter, available to rent from large hardware stores, to remove the existing sod inside the perimeter.
Step 5
Cut landscaping fabric 12 inches longer and wider than the patio. Stretch this across the freshly dug space, bringing the fabric up along the edges of the patio. Temporarily stake down the edges to keep it in place and keep the fabric tight across the patio.
Creating the Foundation
Step 1
Lay a level, 1-inch thick base of sand or crushed stone across the landscaping fabric. Compact the stone with a vibrating-plate tamper if desired. This creates a sturdier base, preventing the mulch from developing low points over the lifetime of the patio, but it's not necessary to complete the project.
Step 2
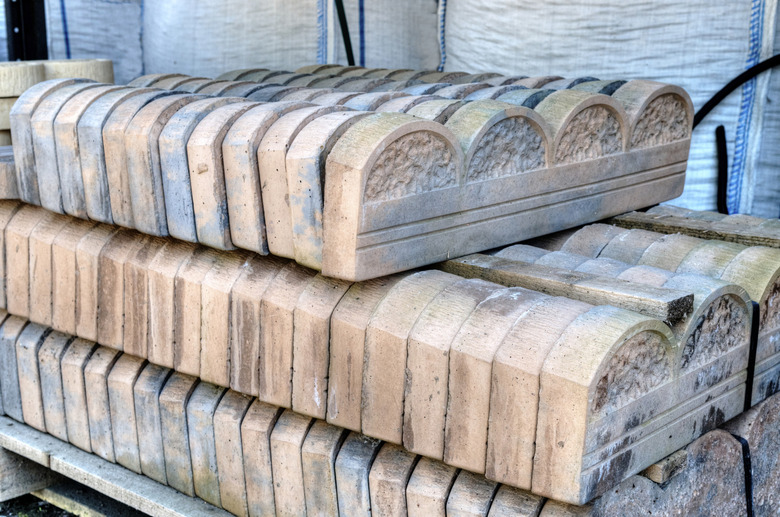
Arrange your edging material around the perimeter of the patio, choosing a type that's at least 4 inches tall. This allows the edging to come up a little under 1 inch above the dug-out area, factoring in the sand or gravel base.
Step 3
- Cut landscaping fabric 12 inches longer and wider than the patio.
- This creates a sturdier base, preventing the mulch from developing low points over the lifetime of the patio, but it's not necessary to complete the project.
Step 4
Hammer stakes through the edging, if applicable, to secure it, spacing the stakes every 30 inches. For logs or concrete edging, pound the material into the sand layer with a mallet. Plastic rolled edging is quick and cheap, but concrete and log edging products create a decorative frame for the mulch patio.
Finishing the Patio
Step 1
Lay down a 3-inch-thick layer of mulch with a mulch fork. If you did not add a sand or gravel base, add 4 inches of mulch. A mulch fork allows you to pick up a large quantity of filler at once, while the pronged design eliminates clumps as you lay the product.
Step 2
Place 2-inch-thick pavers in the main seating area to create a level base for furniture, umbrella stands and other items. This prevents chairs and tables from sinking into the mulch over time.
Step 3
- Hammer stakes through the edging, if applicable, to secure it, spacing the stakes every 30 inches.
- For logs or concrete edging, pound the material into the sand layer with a mallet.
Step 4
Position 2-inch-thick stepping stones to create walking paths if desired. You may want one running between the furniture and the entrance to your home and another leading from the furniture to the yard. Dedicated paths keep your home clean, minimizing the amount of mulch tracked inside. Space these 20 inches apart on center to create a comfortable walkway.
Step 5
Push the stones and pavers into the mulch to set them.
Step 6
Wet the mulch with a garden hose. Stomp across the patio or use a rolling tamper to compact the mulch. If too much edging becomes exposed or the stones and pavers are high enough above the mulch to create a tripping hazard, add another layer of mulch and tamp it again.
Step 7
- Position 2-inch-thick stepping stones to create walking paths if desired.
- If too much edging becomes exposed or the stones and pavers are high enough above the mulch to create a tripping hazard, add another layer of mulch and tamp it again.
