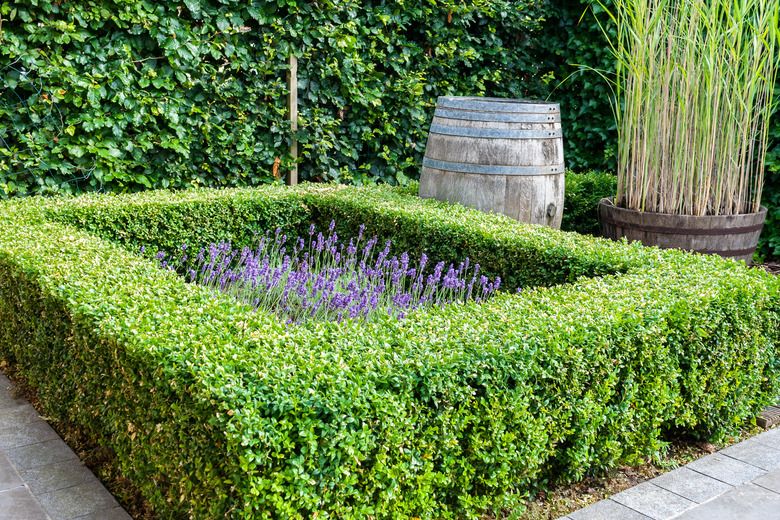
How To Transplant Old Boxwood Hedges
Boxwood (Buxus spp., USDA plant hardiness zones 5 to 9) is often used in formal as well as informal gardens to define space and create garden "rooms."
This plant lacks a taproot, and in fact, the boxwood root system is somewhat shallow, so even large boxwoods can be transplanted. However, transplanting boxwood, especially established shrubs, takes advance planning and requires care.
What Boxwoods Need
While ubiquitous in the landscape, boxwoods are not necessarily easy to grow and require regular care to ensure their long-term health.
- **Full sun or partial shade.** If you are transplanting a boxwood, be sure to select a new location in full sun or partial shade, ideally with some shade in the afternoon to protect the plant.
- **Well-draining soil.** The soil must be well draining, so avoid any low-lying areas in your yard where the soil stays moist.
- **Consistent irrigation.** Regular irrigation during very dry conditions is essential. Boxwoods that are drought-stressed are more susceptible to pests and disease.
- **Pruning for air circulation.** Thin or prune boxwoods to encourage air circulation and to let light into the inner branches. While many people favor the tightly clipped, box-shaped hedge, thinning is still important to avoid a too-dense structure inside the bush.
Plan Ahead and Root Prune in Advance
Hopefully, you have time to plan because an established boxwood—or any evergreen bush—should be root pruned several months before transplanting.
The best time to transplant evergreens is either fall or spring; avoid summer when the weather is too hot to safely protect new root growth and development. Also, avoid winter because evergreens continue to lose moisture in the cold months, and the soil may not easily support new root growth due to cold or impaction. For fall transplanting, root prune your shrubs in spring; for spring transplanting, root prune in fall.
Sink a sharp shovel in a circle around the canopy line of your boxwood. This severs the roots and encourages new growth within this confined area. Waiting six months or even a year allows the boxwood to develop new roots and to cease their dependence on a wide-ranging root system.
Things Needed
- good shovel
- sharp spade
- tarp or piece of burlap
- pick axe (optional)
Dig Out the Boxwood
Get your tools ready—and your back—because digging out a mature box will take oomph. You'll need a good shovel, a sharp spade, a tarp or piece of burlap and maybe a pick axe.
Prepare the New Location
First, dig the hole where the box will go so you can replant it as soon as you pull it out of the ground. The hole should be twice as wide as the existing root ball but does not need to be deeper, because you will want to plant the box at the same level in the soil in its new location as it was growing in its old location.
Prepare the Boxwood
Mark the north side of your boxwood with a piece of tape or twine so you can situate it in the same way at its new location. Use twine to carefully wrap the bush to protect its branches during transplant.
Extract the Boxwood
Your goal here is to retain as much of the root ball as you can.
Using a sharp shovel, dig a trench around the boxwood just outside the area you root pruned, or about 12 inches away from the trunk if you did not root prune. This measurement will depend on the size of your shrub. Clemson Cooperative Extension maintains a table to help you identify the size of the root ball for a given shrub size. For example, a boxwood with a 2-foot spread will require a root ball mass of at least 12 inches.
Dig as deeply as you can all around the bush and then begin rocking it back and forth to determine where the roots are still attached. Use a sharp spade to slice roots as needed but maintain as many roots as possible.
Once the root ball is free, drag it out onto a tarp or burlap and then drag it to its new location. If the location is on a different site, you may need help lifting the root ball into a vehicle for transport; be careful, as the root balls of mature shrubs can be quite heavy.
Tip
Your goal is to retain as much of the root ball as possible. So dig as deeply as you can all around the bush and then begin rocking it back and forth to determine where the roots are still attached.
Transplant the Boxwood
Ease the boxwood root ball into its new location so that it is facing the same direction in relation to the sun as it was in its previous location. Backfill with soil until the hole is half filled and then water. Add more soil, taking care to retain the root ball at the same depth it was originally.
Most importantly, do not pile soil too high over the trunk. Tamp down the soil and water well. If you have tied twine around the branches, untie it now.
Maintain even moisture while the boxwood becomes acclimated. Add mulch around the newly planted bushes to help keep down weeds and avoid water loss.
