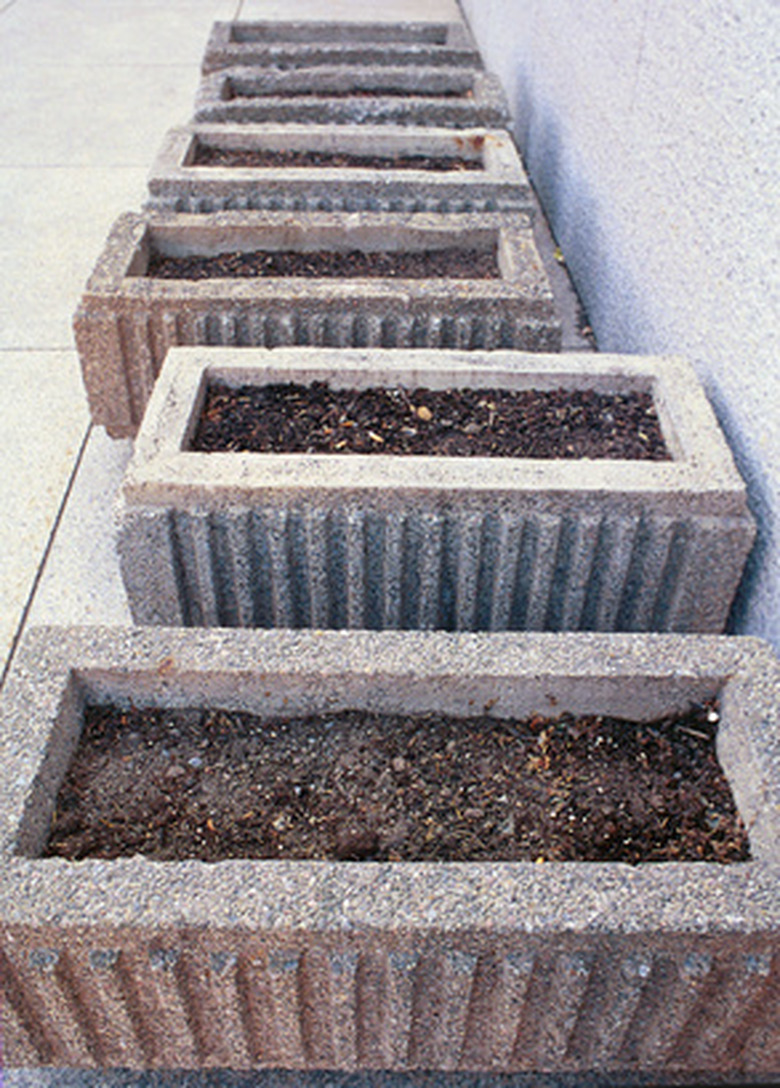
How To Make Cement & Vermiculite Planters
Things Needed
- Mold
- Plastic bag
- Peat moss
- Vermiculite
- Portland cement
- Dowel
Creating your own outdoor planters ensures you get the exact design and size of planter that you are looking for. Making sturdy planters out of vermiculite and cement is a messy but simple process. Vermiculite is readily available at home improvement stores and garden centers. The process of mixing it with cement is called hypertufa, and the finished hypertufa pots have a pleasantly aged and organic appearance. Begin work on your planters in winter so they are ready to go for spring planting and add a personalized touch to your landscaping.
Step 1
Prepare a mold for your hypertufa pot. Use a plastic flower pot, bowl or storage container. Alternately, use cardboard boxes in the appropriate size or shape. Line the mold with a plastic bag, smoothing out any wrinkles as you go.
- Creating your own outdoor planters ensures you get the exact design and size of planter that you are looking for.
- Making sturdy planters out of vermiculite and cement is a messy but simple process.
Step 2
Mix 2 parts peat moss, 1 part vermiculite and 1 part Portland cement in a tub. Break up any large chunks in the components and mix until well-blended.
Step 3
Mix 1 part water with the vermiculite mixture. Add additional water until the mixture is just damp and about the consistency of cooked oatmeal.
Step 4
Place a 2 inch layer of the hypertufa mixture in the bottom of your mold. Smooth it flat with your hands. then place two to four 6 inch lengths of ½ inch diameter dowels into the hypertufa to form drainage holes.
- Mix 2 parts peat moss, 1 part vermiculite and 1 part Portland cement in a tub.
- Place a 2 inch layer of the hypertufa mixture in the bottom of your mold.
Step 5
Smear hypertufa mixture onto the sides of the mold, making the layer approximately 1 inch thick. Keeping adding hypertufa until the sides are completely covered. Round the hypertufa on the rim of the pot so it is less likely to chip.
Step 6
Set the pot in a dry area to cure for one to two weeks at a temperature above 55 degrees F. Spray the pot with water two to three times a day to prevent cracking during the drying process.
Step 7
Remove the dowels from the cured pot. Leave the pot in the mold for an additional two weeks, then remove the mold.
Step 8
Place the pot outside and spray it down with water one or two times a day. This leaches the alkalinity from the pot so it does not damage plants.
- Smear hypertufa mixture onto the sides of the mold, making the layer approximately 1 inch thick.
- Round the hypertufa on the rim of the pot so it is less likely to chip.
Tip
Use sandpaper, wire brushes and chisels to finish the outside to the desired roughness and design. Combine beer with some crushed moss and paint the outside of the pot with the solution. Within a few weeks the hypertufa will have an attractive moss covering.
Warning
Hypertufa breaks easily if dropped. Move the pot carefully to avoid damage.
