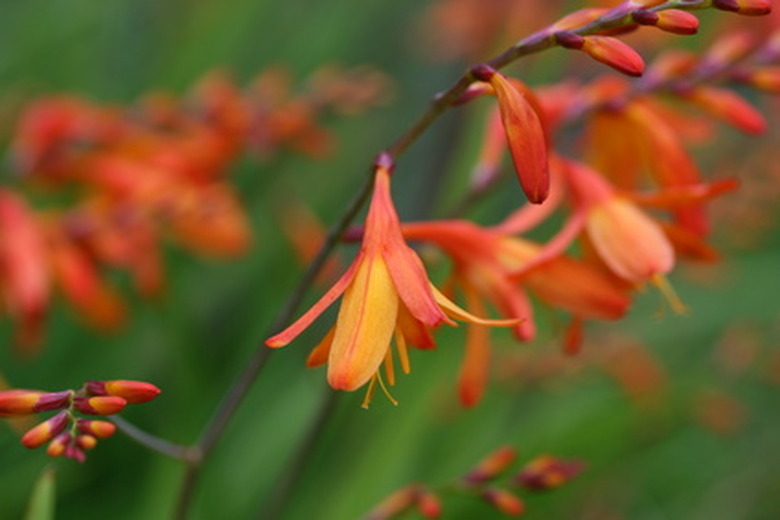
How To Split A Crocosmia
Crocosmias propagate themselves enthusiastically and enjoy being crowded. Eventually they'll become congested enough that there will be a reduction in blooming. For best performance, these beauties should be lifted and divided every 3 or 4 years. If you want to split crocosmias in the spring, do so right before new growth begins after all danger of frost has passed for your area. Gardeners who prefer lifting perennial bulbs in the fall should wait for foliage to die back and turn completely brown. New divisions probably won't bloom for you this year. But you're certain to have lots of new crocosmias flowering the following spring and summer.
- Crocosmias propagate themselves enthusiastically and enjoy being crowded.
- Gardeners who prefer lifting perennial bulbs in the fall should wait for foliage to die back and turn completely brown.
Step 1
Dig the crocosmia clump up. Use your garden spade to cut a circle in the soil around the plant, about 10 to 12 inches away from the stems.
Step 2
Lift the clump and shake or brush excess soil from it. If conditions are wet, rinse it off with water.
Step 3
Pull or pry the bulb-like corms apart individually. If you prefer, use a clean, sharp knife to split the mass into smaller clumps containing multiple corms.
Step 4
Inspect the crocosmia corms carefully. Discard any that are old and withered or that show signs of rot or disease. You probably poked a few of them while you were digging, which is typical. Throw these out as well because there are usually plenty of undamaged corms remaining.
- Dig the crocosmia clump up.
- Use your garden spade to cut a circle in the soil around the plant, about 10 to 12 inches away from the stems.
Step 5
Plant divisions 3 to 5 inches deep and about 6 to 8 inches apart. Apply a good bulb fertilizer at this time. Follow the packaging instructions carefully. Plant groups of 10 or 15 of the same variety for the most dramatic displays of color.
Step 6
Water thoroughly to evenly moisten the soil.
Split A Crocosmia
Loosen the soil to a 12-inch depth around the crocosmia clump with a trowel or handheld garden fork, but avoid piercing the corms as you work. Slip the trowel beneath the clump and lever it out of the soil. Rinse the roots off with a gentle stream of water so the corms are easily visible. Break apart the offsets, or small corms, attached to the larger mature corms by twisting them apart gently. Dispose of any damaged corms or those that show signs of rot, such as softening, withering or discoloration. Plant each corm chain or offset with the tip 3 to 5 inches deep. Cover the bed with a 1- to 2-inch layer of mulch and continue to water about once weekly, or when the top 1 inch of soil begins to dry.
- Plant divisions 3 to 5 inches deep and about 6 to 8 inches apart.
- Cover the bed with a 1- to 2-inch layer of mulch and continue to water about once weekly, or when the top 1 inch of soil begins to dry.
Things Needed
- Garden spade
- Clean, sharp knife
- Bulb fertilizer
