How To Preserve Dried Flowers With Clear Resin
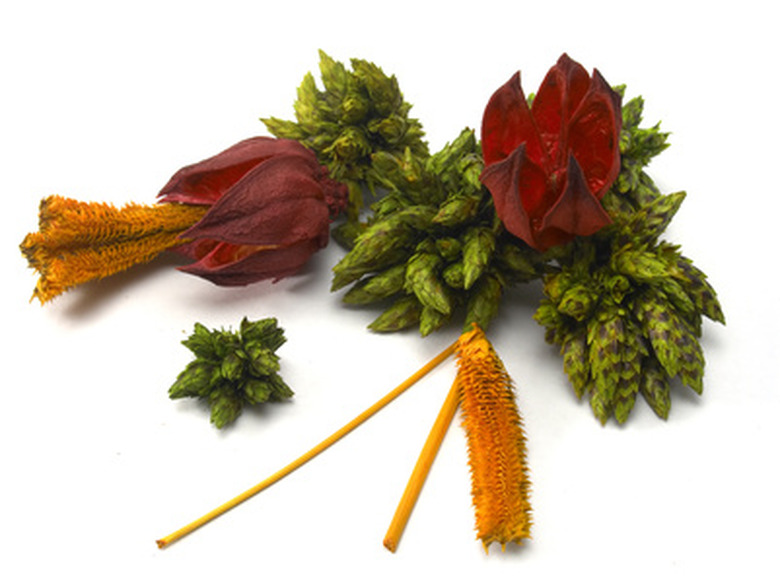
Dried garden flowers lend themselves readily to a variety of crafts. One way to preserve them forever is in clear casting resin. Casting or epoxy resin is liquid plastic that hardens when exposed to air, encasing whatever flower you put inside of it in clear, durable plastic. The completed resin pieces can then be used as jewelry, display items or in a variety of other crafts around the home. Casting resin is available at most craft stores.
Step 1
Check the flowers for dryness prior to embedding them in resin. Push lightly on the thicker parts of the flower, particularly where it was attached to the stem. If it still feels soft, allow the flower to air dry further for three to five days. The petals feel papery when completely dry.
- Dried garden flowers lend themselves readily to a variety of crafts.
- Check the flowers for dryness prior to embedding them in resin.
Step 2
Spray the dried flower with a clear acrylic sealant or an epoxy clear-coat spray. Coat the flower completely, then allow it to dry for 24 hours.
Step 3
Mix one part of the resin with one part of the hardener—both are included in the epoxy resin kit. Mix the two parts together with a craft stick for two minutes, then allow it to set for three minutes so most of the bubbles in the mixture dissipate.
Step 4
Pour the resin into the resin mold, filling the mold half-full. Resin molds are available where resin kits are sold. They are clear plastic, and the resin doesn't adhere to them.
- Spray the dried flower with a clear acrylic sealant or an epoxy clear-coat spray.
- Mix the two parts together with a craft stick for two minutes, then allow it to set for three minutes so most of the bubbles in the mixture dissipate.
Step 5
Set the flower face-down in the half-filled mold. Push it down lightly with a toothpick to encourage any air bubbles trapped under it to rise to the surface.
Step 6
Let the resin in the mold sit for five to 10 minutes, adjusting the flower with a toothpick as necessary during this time. Then, finish filling the mold to the top with resin. Pop any air bubbles on the resin surface with a toothpick.
Step 7
Set the mold in a warm, dry room to cure for 48 hours. Place a box upside down over the top of the mold to prevent any dust particles from settling on the resin surface.
- Set the flower face-down in the half-filled mold.
- Place a box upside down over the top of the mold to prevent any dust particles from settling on the resin surface.
Step 8
Turn the mold upside down on your work surface once the curing time is over. Lightly press on the back of the mold to pop out the completed resin pieces.
Tip
Polyester resin is also available, but isn't suitable for dried flowers. It tends to stay sticky on one side and pull away from the flowers inside, giving them a silvery appearance.
Warning
Work in a well-ventilated room. Wear gloves and cover all work surfaces, as resin is not removable once it has hardened.
Things Needed
- Acrylic sealant
- Resin kit
- Resin mold
- Craft sticks
- Toothpicks
- Box
